The Shoe Store
The Contains These Screens:
- Login screen: Email and password fields and labels plus create and login buttons
- Welcome onboarding screen
- Instructions onboarding screen
- Shoe Listing screen
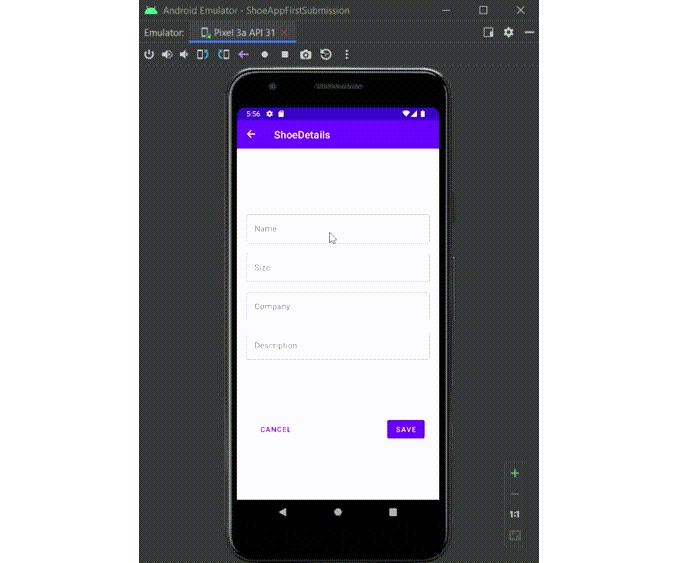
- Shoe Detail screen for adding a new shoe
Steps I Followed To Creat This Project
Getting Started
 Open the starter project in the latest stable version of Android Studio.
 Open the starter project in Android Studio
-
Open the starter project in Android Studio
-
Add the navigation libraries to the app build.gradle file
-
Add the safe-arg plugin to the main and app build.gradle file
-
Create a new navigation xml file
-
Create a new Login destination.
- Include email and password labels
- Include email and password fields
- Create buttons for creating a new login and logging in with an existing account
- Clicking either button should navigate to the Welcome Screen.
-
Create a new Welcome screen destination that includes:
- A new layout
- At least 2 textviews
- A navigation button with actions to navigate to the instructions screen
-
Create a new Instruction destination that includes:
- A new layout
- At least 2 textviews
- A navigation button with actions to navigate to the shoe list screen
-
Create a class that extends ViewModel
- Use a LiveData field that returns the list of shoes
-
Create a new Shoe List destination that includes:
- A new layout
- A ScrollView
- A LinearLayout for Shoe Items
- A FloatingActionButton with an action to navigate to the shoe detail screen
-
In MainActivity, setup the nav controller with the toolbar and an AppBarConfiguration.
-
Create a new Shoe Detail destination that includes:
- A new layout
- A TextView label and EditView for the
- Shoe Name
- Company
- Shoe Size
- Description
- A Cancel button with an action to navigate back to the shoe list screen
- A Save button with an action to navigate back to the shoe list screen and add a new Shoe to the Shoe View Model
-
Make sure you can’t go back to onboarding screens
-
In the Shoe List screen:
- Use an Activity level ViewModel to hold a list of Shoes (use by activityViewModels)
- Observe the shoes variable from the ViewModel
- Use DataBindingUtil to inflate the shoe_list layout
- Add a new layout item into the scrollview for each shoe.


