SurveyKit
Create beautiful Surveys on Android (inspired by ResearchKit Surveys on iOS).
Do you want to display a questionnaire to get the opinion of your users? A survey for a medical trial? A series of instructions in a manual-like style?
SurveyKit is an Android library that allows you to create exactly that.
Thematically it is built to provide a feeling of a professional research survey. The library aims to be visually clean, lean and easily configurable. We aim to keep the functionality close to iOS ResearchKit Surveys.
This is an early version and work in progress. Do not hesitate to give feedback, ideas or improvements via an issue.
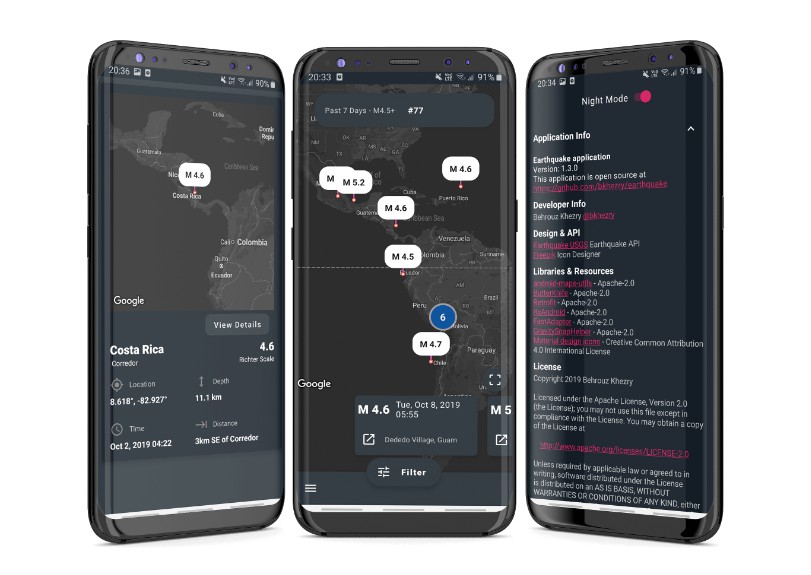
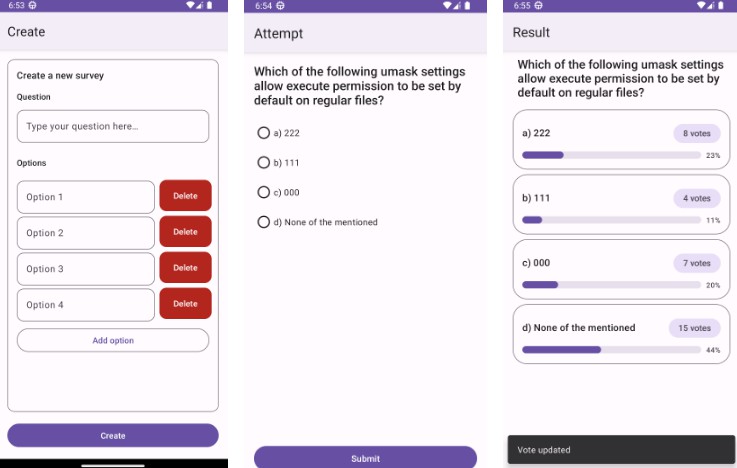
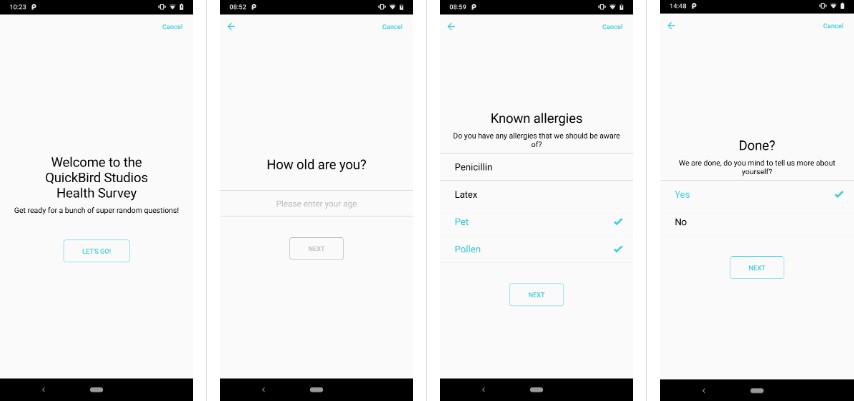
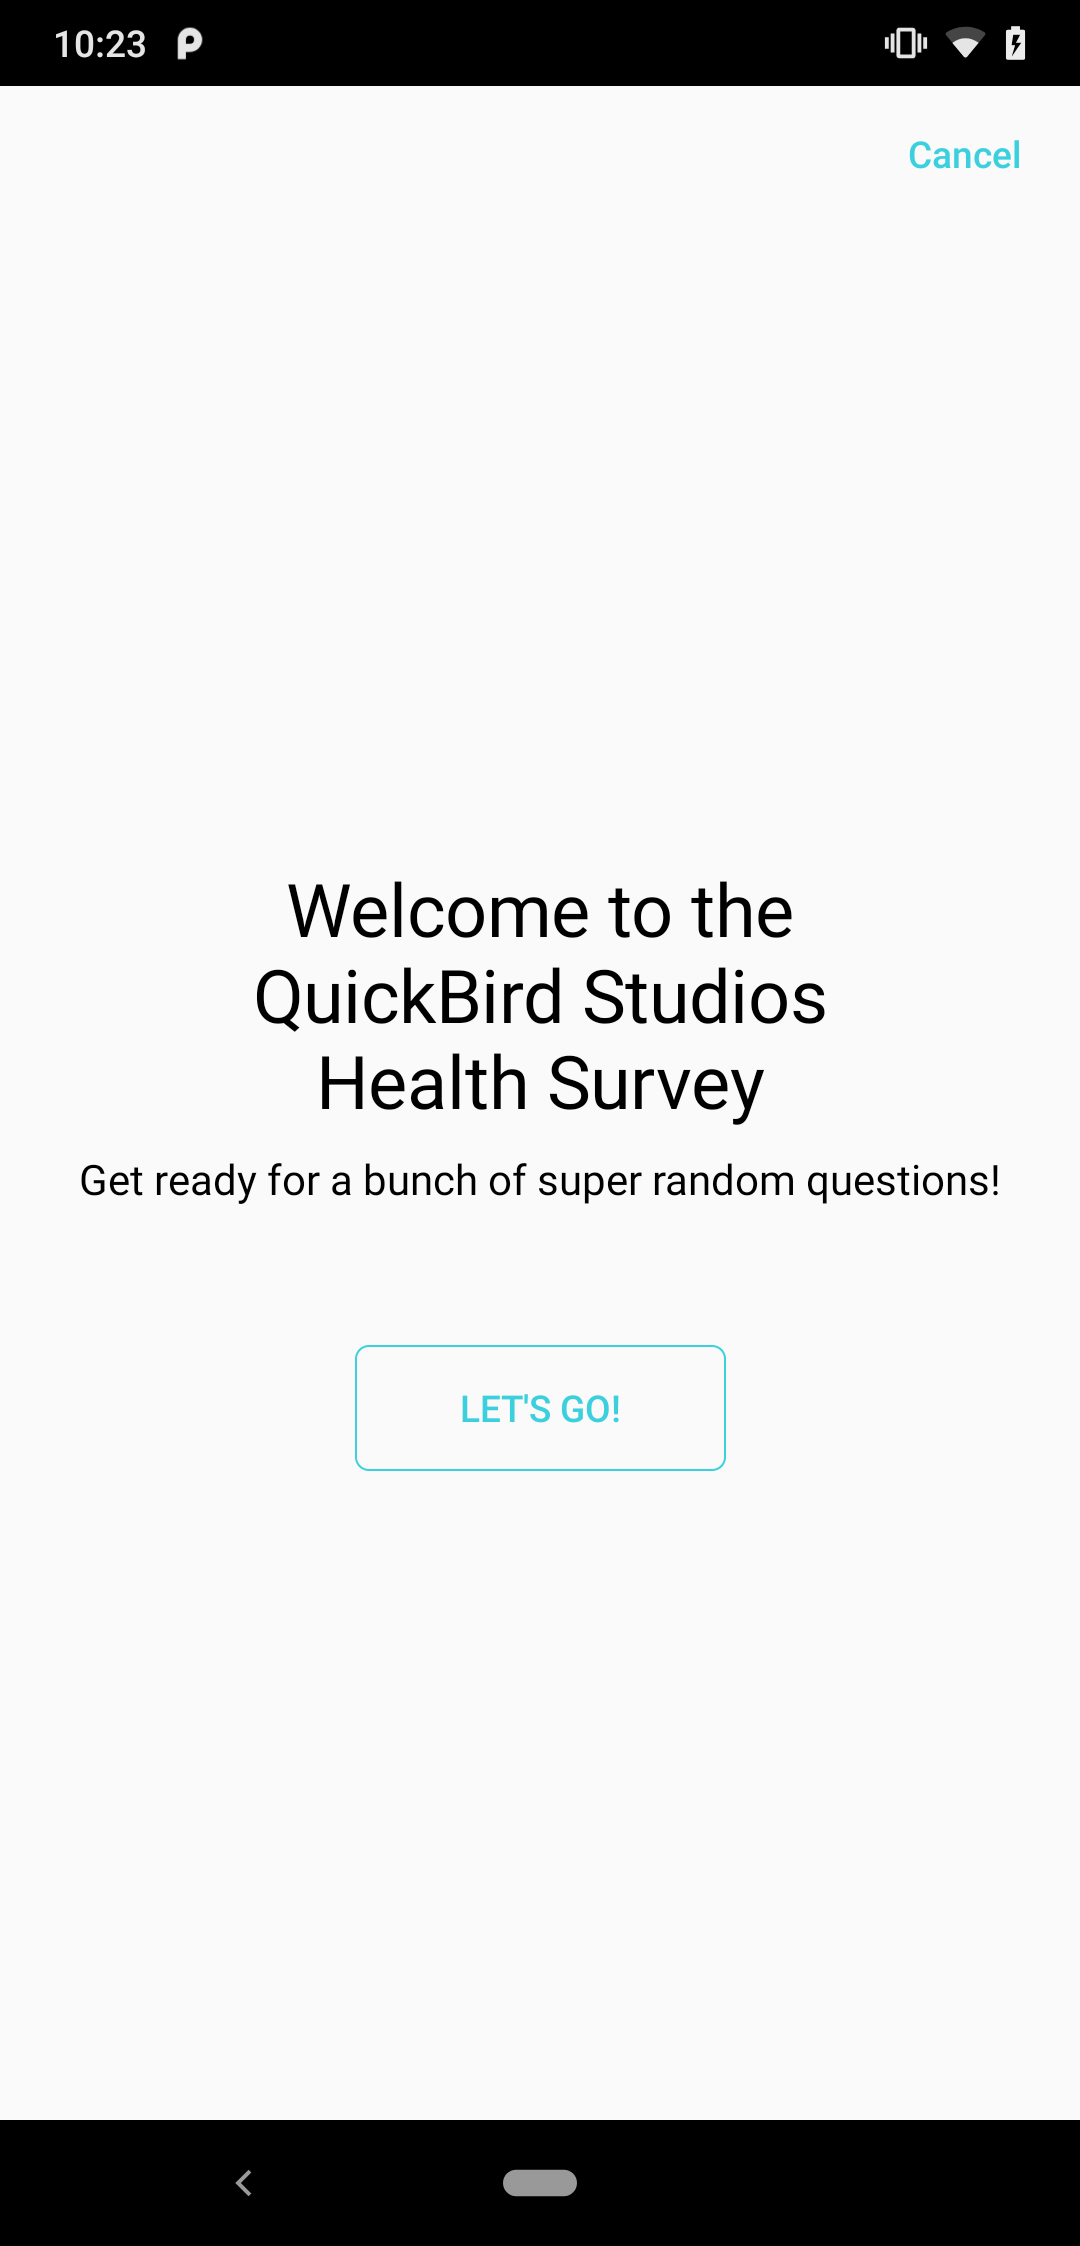
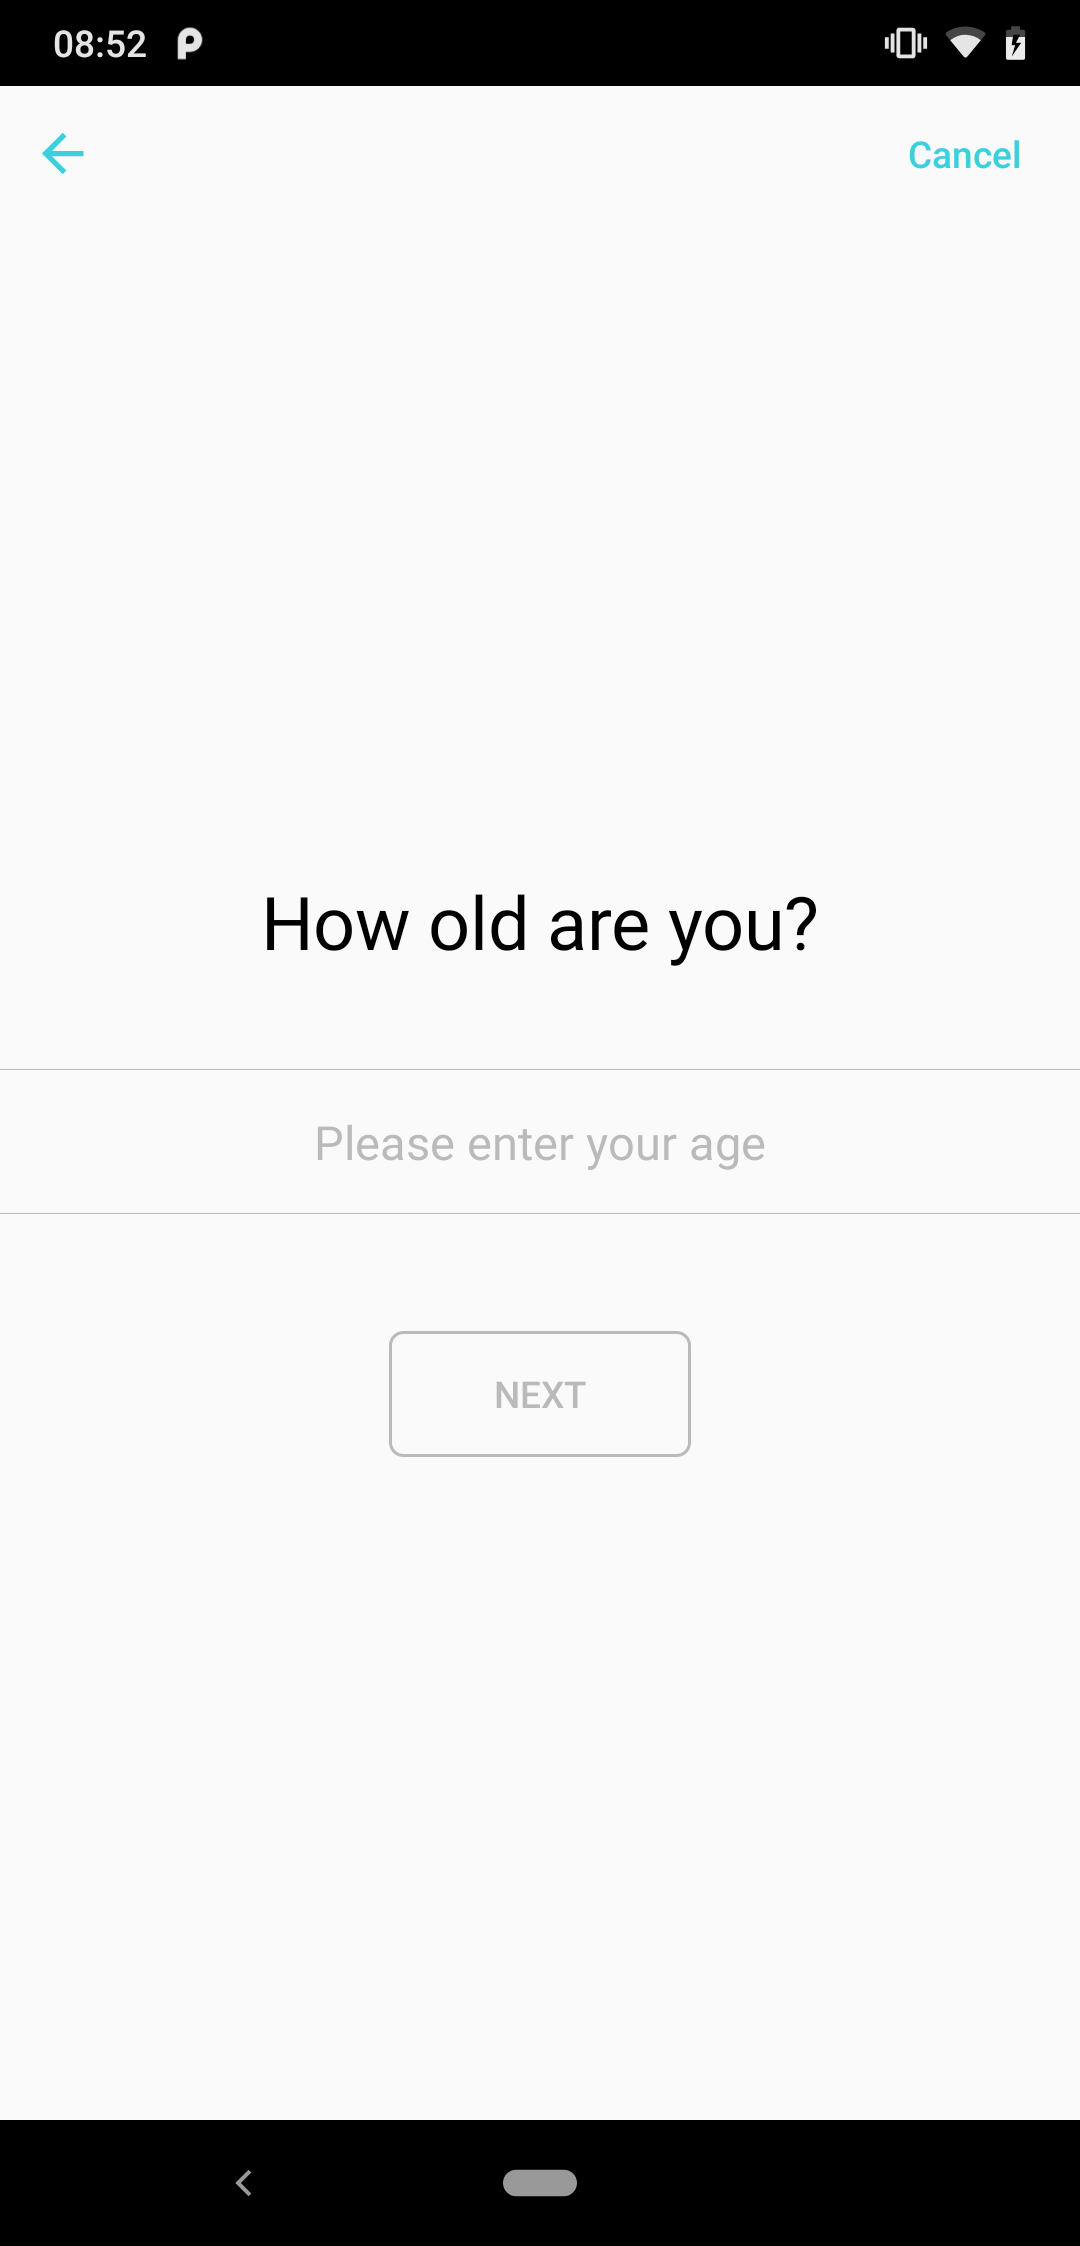
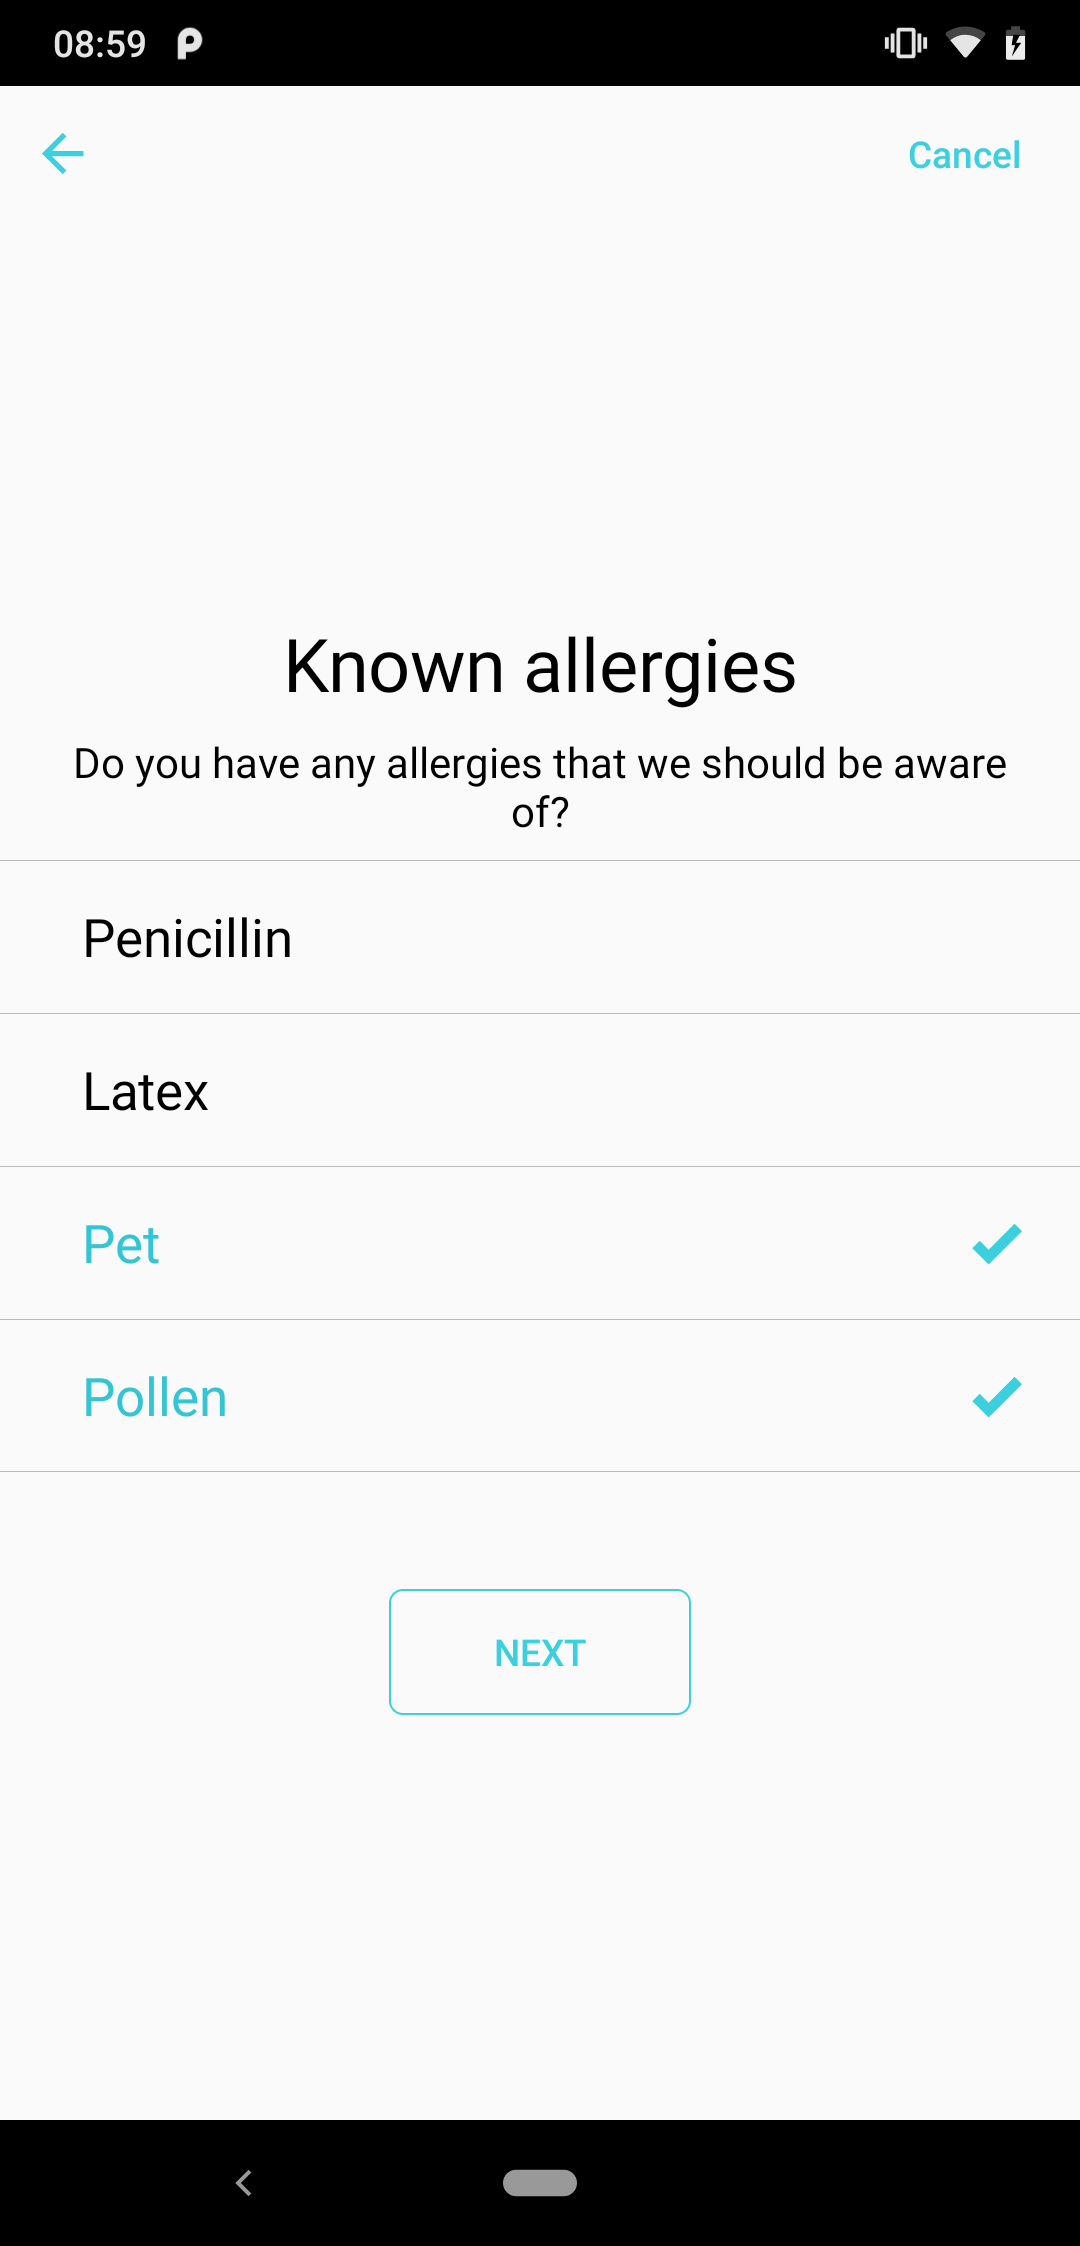
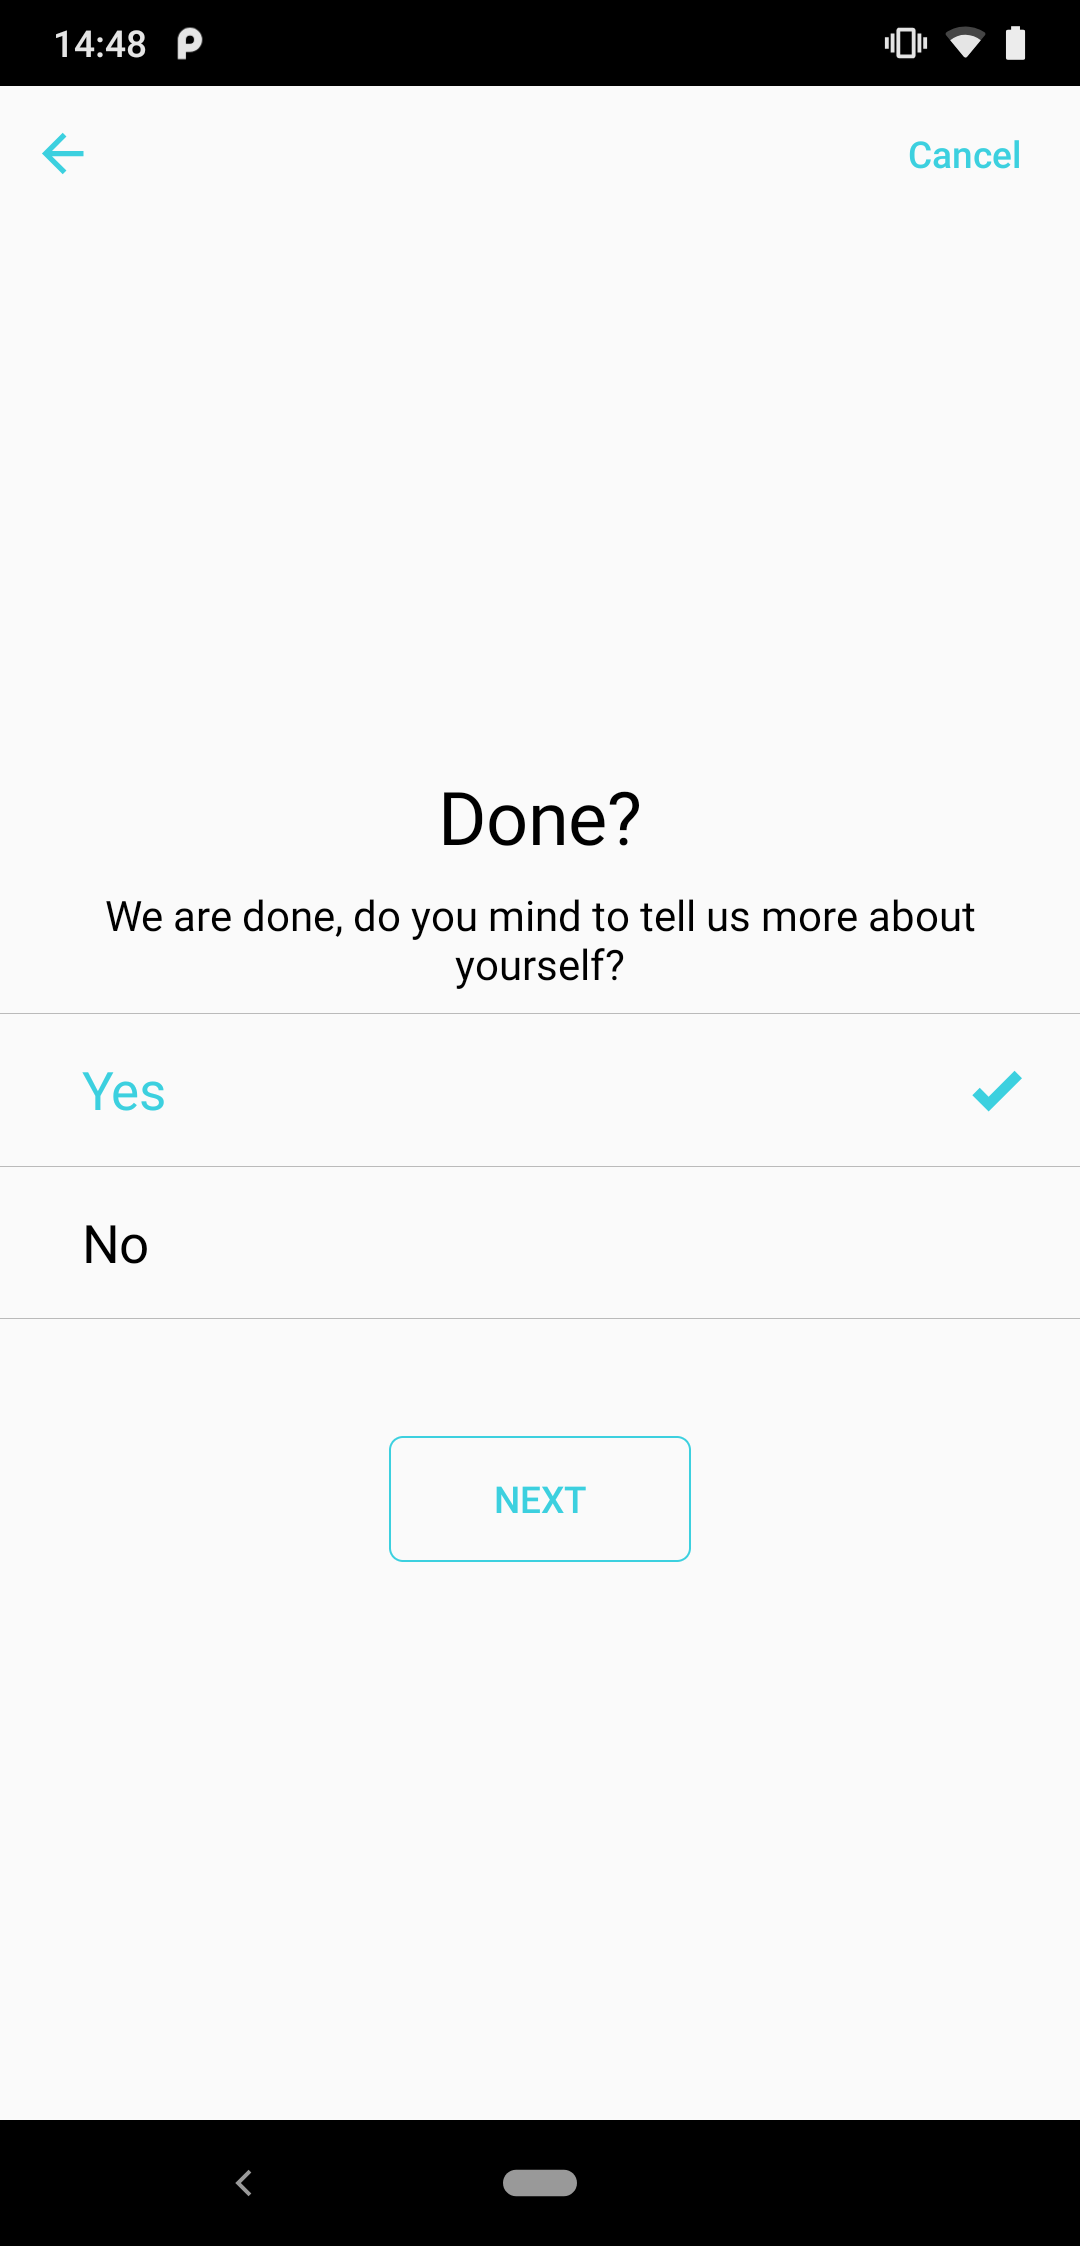
Screenshots
 |
 |
 |
 |
What SurveyKit does for you
- Simplifies the creation of surveys
- Provides rich animations and transitions out of the box (custom animations planned)
- Build with a consistent, lean, simple style, to fit research purposes
- Survey navigation can be linear or based on a decision tree (directed graph)
- Gathers results and provides them in a convinient manner to the developer for further use
- Gives you complete freedom on creating your own questions
- Allows you to customize the style
- Provides an API and structure that is very similar to iOS ResearchKit Surveys
- Is used in production by Quickbird Studios
What SurveyKit does not (yet) do for you
As stated before, this is an early version and a work in progress. We aim to extend this library until it matches the functionality of the iOS ResearchKit Surveys.
? Library Setup
1. Add the repository
build.gradle
2. Add the dependency
build.gradle.kts
Find the latest version HERE
? Usage
Example
A working example project can be found HERE
Add and Find the Survey in the XML
Add the SurveyView to your xml (it looks best if it fills the screen).
Find the view in the xml and save it for further use.
Create survey steps
To create a step, create an instance of one of these 3 classes:
InstructionStep
The title is the general title of the Survey you want to conduct.
The text is, in this case, the introduction text which should give an introduction, about what the survey is about.
The buttonText specifies the text of the button, which will start the survey.
All of these properties have to be resource Ids.
CompletionStep
The title is the general title of the Survey you want to conduct, same as for the InstructionStep.
The text is here should be something motivational: that the survey has been completed successfully.
The buttonText specifies the text of the button, which will end the survey.
All of these properties have to be resource Ids.
QuestionStep
The title same as for the InstructionStep and CompletionStep.
The text the actual question you want to ask. Depending on the answer type of this, you should set the next property.
The answerFormat specifies the type of question (the type of answer to the question) you want to ask. Currently there these types supported:
TextAnswerFormatIntegerAnswerFormatScaleAnswerFormatSingleChoiceAnswerFormatMultipleChoiceAnswerFormat
All that's left is to collect your steps in a list.
Create a Task
Next you need a task. Each survey has exactly one task. A Task is used to define how the user should navigate through your steps.
OrderedTask
The OrderedTask just presents the questions in order, as they are given.
NavigableOrderedTask
The NavigableOrderedTask allows you to specify navigation rules.
There are two types of navigation rules:
With the DirectStepNavigationRule you say that after this step, another specified step should follow.
With the MultipleDirectionStepNavigationRule you can specify the next step, depending on the answer of the step.
Evaluate the results
When the survey is finished, you get a callback. No matter of the FinishReason, you always get all results gathered until now.
The TaskResult contains a list of StepResults. The StepResult contains a list of QuestionResults.
Style
These is how you add custom styling to your survey. We'll add even more options in the future.
Start the survey
All that's left is to start the survey and enjoy.??
? Custom steps
At some point, you might wanna define your own custom question steps.
That could, for example, be a question which prompts the user to pick color values or even sound samples.
These are not implemented yet but you can easily create them yourself:
You'll need a CustomResult and a CustomStep. The Result class tells SurveyKit which data you want to save.
Next you'll need a CustomStep class:
Comparison of SurveyKit on Android to ResearchKit on iOS
This is an overview of which features iOS ResearchKit Surveys provides and which ones are already supported by SurveyKit on Android.
The goal is to make both libraries match in terms of their functionality.
| Steps | iOS ResearchKit | Android SurveyKit |
|---|---|---|
| Instruction | ✅ | ✅ |
| Single selection | ✅ | ✅ |
| Multi selection | ✅ | ✅ |
| Boolean answer | ✅ | x |
| Value picker | ✅ | x |
| Image choice | ✅ | x |
| Numeric answer | ✅ | ✅ |
| Time of day | ✅ | x |
| Date selection | ✅ | x |
| Text answer (unlimited) | ✅ | ✅ |
| Text answer (limited) | ✅ | ✅ |
| Text answer (validated) | ✅ | x |
| Scale answer | ✅ | ✅ |
| Email answer | ✅ | x |
| Location answer | ✅ | x |