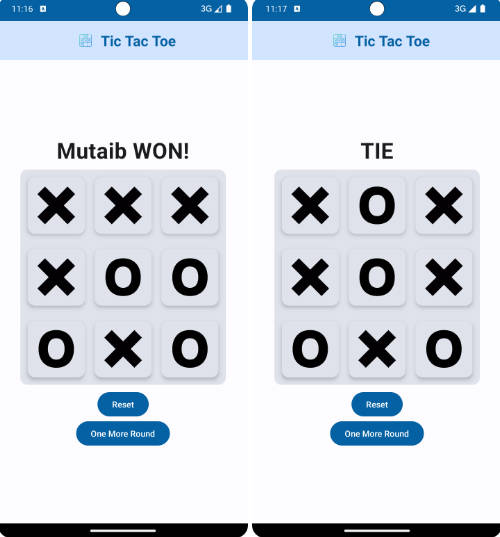
TIC – TAC – TOE
How to Setup?
- Fork the repository to your GitHub account.
- Clone the forked repository to your local machine.
- Add upstream to the cloned repository using the command
git remote add upstream <http/ssh link>keeping the terminal head at the cloned project folder. - The project is now setup and can be directly opened from Android Studio.
How to Contribute?
- Get yourself assigned to the issue you would like working on.
- Create a new working branch from clean
mainbranch usinggit checkout -b <branch_name>. All your changes should be made on new created branch only. - Stage and commit the changes once done. (
git add . && git commit -m "<commit_message>".) - Push your committed changes to your forked repository using
git push origin <branch_name>. - Create a pull request merging changes from
origin/<branch_name>toupstream/main. - In case of requested changes, do those changes and repeat from step 3.
- Get your PR merged. ?
How to resolve a merge conflict using Android Studio?
Usually Git is able to automatically merge files when pulling changes from another branch. But sometimes a conflict arises when two separate branches have made edits to the same line in a file, or when a file has been deleted in one branch but edited in the other.
You can use Android Studio to resolve merge conflicts through its UI-based Git features. Here’s how to do it:
- Go to VCS > Git > Pull (set the remote to be upstream and branch to be develop). Or, use VCS > Git > Resolve Conflicts if you have already pulled the changes but haven’t resolved the conflicts.

(this may look different in the latest android studio update)
- Usually, this will automatically merge the files. However, in the case of conflicts, it will prompt you to tell it what to do with those files.

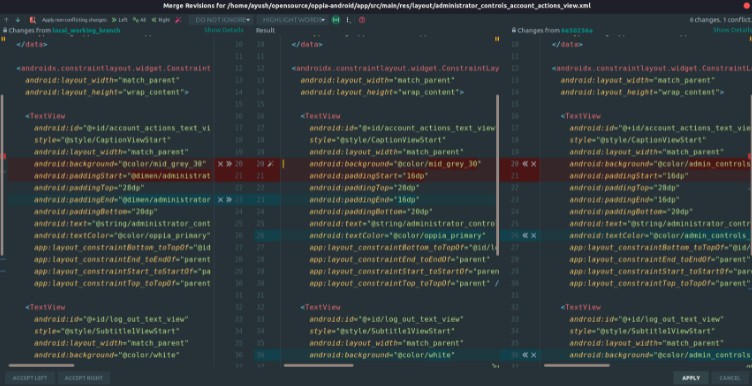
- You can either directly accept the changes from develop (discarding your local changes) or keep your own changes (discarding the changes from develop) based on the situation but it is suggested to go through each file line by line using the merge button in the prompt.

The file on the left shows changes from your local working branch and the file on the right shows the changes from the develop branch while the centre file being the final state of it. You can decide accordingly which change (or both) you want to keep for each conflict one by one using the arrows and cross sign on those highlighted lines. Once the conflicts are successfully resolved you can then commit and push your changes to your working branch.
Alternatively, merge conflicts can also be handeled using the terminal :
Resolving merge conflicts using the terminal.
Resolving merge conflicts using the terminal
To resolve conflicts between ‘new-branch-name’ (in your fork) and ‘main’, run:
git checkout new-branch-name
git fetch upstream
git merge upstream/main
git commit -a
git push origin new-branch-name
Feel free to ask any questions in case you are stuck somewhere.