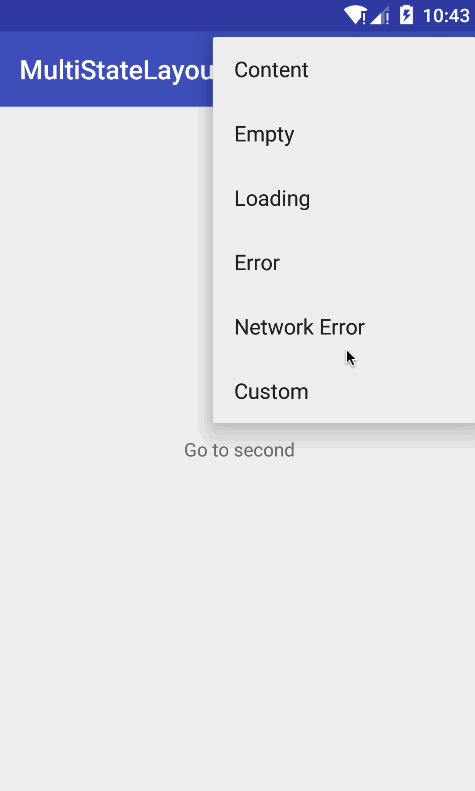
MultiStateLayout
A customize multiple state layout for Android.
Usage
Gradle
Step 1. Add the JitPack repository to your build file
allprojects {
    repositories {
        ...
        maven { url "https://jitpack.io" }
    }
}
XML
Step 2. Add the dependency
dependencies {
    compile 'com.github.andyxialm:MultiStateLayout:0.1.1'
}
XML
Maven
Step 1. Add the JitPack repository to your build file
<repositories>
    <repository>
        <id>jitpack.io</id>
	<url>https://jitpack.io</url>
    </repository>
</repositories>
XML
Step 2. Add the dependency
<dependency>
    <groupId>com.github.andyxialm</groupId>
    <artifactId>MultiStateLayout</artifactId>
    <version>0.1.1</version>
</dependency>
XML
Edit your layout XML:
<cn.refactor.multistatelayout.MultiStateLayout
    android:id="@+id/multi_state_layout"
    xmlns:android="http://schemas.android.com/apk/res/android"
    xmlns:state="http://schemas.android.com/apk/res-auto"
    android:layout_width="match_parent"
    android:layout_height="match_parent"
    state:layout_network_error="@layout/layout_custom_network_error"
    state:animEnable="true"
    state:animDuration="500">

    <!-- content layout -->
    <TextView
        android:layout_width="wrap_content"
        android:layout_height="wrap_content"
        android:layout_gravity="center"
        android:text="Hello World!"/>

</cn.refactor.multistatelayout.MultiStateLayout>
XML
Common Configuration
public class App extends Application {
    @Override
    public void onCreate() {
        super.onCreate();

        MultiStateConfiguration.Builder builder = new MultiStateConfiguration.Builder();
        builder.setCommonEmptyLayout(R.layout.layout_empty)
               .setCommonErrorLayout(R.layout.layout_error)
               .setCommonLoadingLayout(R.layout.layout_loading);
        MultiStateLayout.setConfiguration(builder);
    }
}
Java
How to change state?
mMultiStateLayout.setState(MultiStateLayout.State.CONTENT);

mMultiStateLayout.setState(MultiStateLayout.State.EMPTY);

mMultiStateLayout.setState(MultiStateLayout.State.LOADING);

mMultiStateLayout.setState(MultiStateLayout.State.ERROR);

mMultiStateLayout.setState(MultiStateLayout.State.NETWORK_ERROR);

mMultiStateLayout.setOnStateViewCreatedListener(new OnStateViewCreatedListener() {
    @Override
    public void onViewCreated(View view, int state) {
        switch (state) {
            case MultiStateLayout.State.NETWORK_ERROR:
                view.findViewById(R.id.btn_reload).setOnClickListener(new View.OnClickListener() {
                    @Override
                    public void onClick(View view) {
                    }
                });
                break;
            ...
            default:
                break;
        }
    }
});
Java
Add a listener that will be invoked whenever the state view changes or is incrementally.
mMultiStateLayout.addOnStateChangedListener(new OnStateChangedListener() {
    @Override
    public void onChanged(int state) {

    }
});
Java
How to add customize state view?
View customStateView = LayoutInflater.from(this).inflate(R.layout.layout_custom_notice, mStateLayout, false);
mStateLayout.putCustomStateView(KEY_CUSTOM_STATE, customStateView);
Java
Show customize state view.
mStateLayout.setCustomState(KEY_CUSTOM_STATE);
Java
How to customise transition animation?
mStateLayout.setTransitionAnimator(new TransitionAnimatorLoader() {
    @Override
    public ObjectAnimator loadAnimator(View targetView) {
        ObjectAnimator customAnimator = ObjectAnimator.ofFloat(targetView, "alpha", 0.0f, 1.0f)
                                                      .setDuration(500);
        customAnimator.setInterpolator(new AccelerateInterpolator());
        return customAnimator;
    }
});
Java
MultiStateLayout

可支持自定义状态的多状态视图组件。

引入方式
Gradle
Step 1. Add the JitPack repository to your build file
allprojects {
    repositories {
        ...
        maven { url "https://jitpack.io" }
    }
}
XML
Step 2. Add the dependency
dependencies {
    compile 'com.github.andyxialm:MultiStateLayout:0.1.1'
}
XML
Maven
Step 1. Add the JitPack repository to your build file
<repositories>
    <repository>
        <id>jitpack.io</id>
	<url>https://jitpack.io</url>
    </repository>
</repositories>
XML
Step 2. Add the dependency
<dependency>
    <groupId>com.github.andyxialm</groupId>
    <artifactId>MultiStateLayout</artifactId>
    <version>0.1.1</version>
</dependency>
XML
布局文件中增加 MultiStateLayout,包裹内容布局:
<cn.refactor.multistatelayout.MultiStateLayout
    android:id="@+id/multi_state_layout"
    xmlns:android="http://schemas.android.com/apk/res/android"
    xmlns:state="http://schemas.android.com/apk/res-auto"
    android:layout_width="match_parent"
    android:layout_height="match_parent"
    state:layout_network_error="@layout/layout_custom_network_error"
    state:animEnable="true"
    state:animDuration="500">

    <!-- content layout -->
    <TextView
        android:layout_width="wrap_content"
        android:layout_height="wrap_content"
        android:layout_gravity="center"
        android:text="Hello World!"/>

</cn.refactor.multistatelayout.MultiStateLayout>
XML
配置公共属性
public class App extends Application {
    @Override
    public void onCreate() {
        super.onCreate();

        MultiStateConfiguration.Builder builder = new MultiStateConfiguration.Builder();
        builder.setCommonEmptyLayout(R.layout.layout_empty)
               .setCommonErrorLayout(R.layout.layout_error)
               .setCommonLoadingLayout(R.layout.layout_loading);
        MultiStateLayout.setConfiguration(builder);
    }
}
Java
如何切换状态?
mMultiStateLayout.setState(MultiStateLayout.State.CONTENT);

mMultiStateLayout.setState(MultiStateLayout.State.EMPTY);

mMultiStateLayout.setState(MultiStateLayout.State.LOADING);

mMultiStateLayout.setState(MultiStateLayout.State.ERROR);

mMultiStateLayout.setState(MultiStateLayout.State.NETWORK_ERROR);

mMultiStateLayout.setOnStateViewCreatedListener(new OnStateViewCreatedListener() {
    @Override
    public void onViewCreated(View view, int state) {
        switch (state) {
            case MultiStateLayout.State.NETWORK_ERROR:
                view.findViewById(R.id.btn_reload).setOnClickListener(new View.OnClickListener() {
                    @Override
                    public void onClick(View view) {
                    }
                });
                break;
            ...
            default:
                break;
        }
    }
});
Java