AdaptiveLayout Composable

Jetpack Compose Composable for easy implementation of Adaptive Layout.
Normally, implementing adaptive layouts with Jetpack Compose requires a lot of work.
But with this composable, all you have to prepare is the content you want to show.
The composable takes care of the complicated work required to implement adaptive layouts.
Samples
| Device | |
|---|---|
| Smartphone | 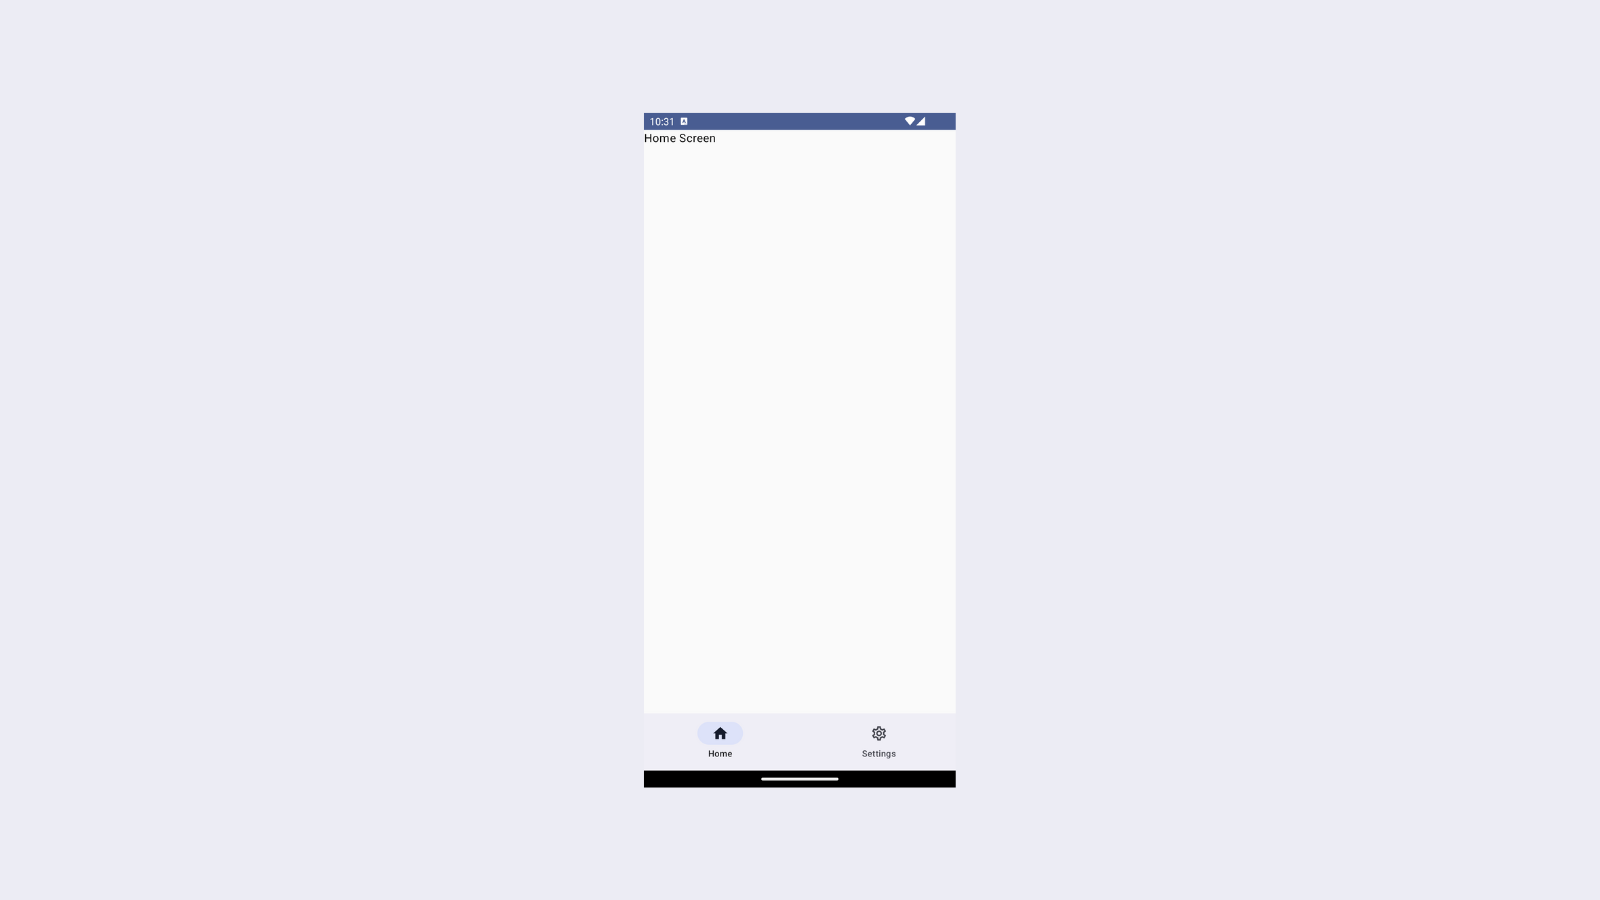 |
| Foldable |  |
| Tablet |  |
Usage
It is very easy to use.
All you have to do is prepare each route that should be associated with each icon. Then, simply pass the methods and classes exposed by the library directly to AdaptiveLayout Composable. As a result, you will be able to build screens with layouts for various screen sizes.
See? Easy, isn’t it?
object HomeDestination : AdaptiveLayoutNavigationDestination {
    override val route = "home_route"
    override val destination = "home_destination"
}

object SettingsDestination : AdaptiveLayoutNavigationDestination {
    override val route = "settings_route"
    override val destination = "settings_destination"
}

object MyApplicationIcons {
    val Home = Icons.Outlined.Home
    val HomeFilled = Icons.Filled.Home
    val Settings = Icons.Outlined.Settings
    val SettingsFilled = Icons.Filled.Settings
}
val HomeTopLevelDestination: AdaptiveLayoutTopLevelDestination = AdaptiveLayoutTopLevelDestination(
    route = HomeDestination.route,
    destination = HomeDestination.destination,
    selectedAdaptiveLayoutIcon = AdaptiveLayoutIcon.ImageVectorAdaptiveLayoutIcon(MyApplicationIcons.HomeFilled),
    unselectedAdaptiveLayoutIcon = AdaptiveLayoutIcon.ImageVectorAdaptiveLayoutIcon(MyApplicationIcons.Home),
    iconTextId = R.string.home
)

val SettingsTopLevelDestination: AdaptiveLayoutTopLevelDestination = AdaptiveLayoutTopLevelDestination(
    route = SettingsDestination.route,
    destination = SettingsDestination.destination,
    selectedAdaptiveLayoutIcon = AdaptiveLayoutIcon.ImageVectorAdaptiveLayoutIcon(MyApplicationIcons.SettingsFilled),
    unselectedAdaptiveLayoutIcon = AdaptiveLayoutIcon.ImageVectorAdaptiveLayoutIcon(MyApplicationIcons.Settings),
    iconTextId = R.string.settings
)


class MainActivity : ComponentActivity() {
    @RequiresApi(Build.VERSION_CODES.P)
    override fun onCreate(savedInstanceState: Bundle?) {
        super.onCreate(savedInstanceState)

        setContent {
            MyApplicationTheme {
                AdaptiveLayout(
                    topLevelDestinations = listOf(
                        HomeTopLevelDestination,
                        SettingsTopLevelDestination,
                    ),
                    background = { _, content ->
                        content()
                    },
                ) { isListAndDetail, navController, navigate, navigateAndPopUp ->
                    MyApplicationNavGraph(
                        navController = navController,
                        isListAndDetail = isListAndDetail,
                        startDestination = HomeDestination.route,
                        onNavigateAndPopUpToDestination = navigateAndPopUp,
                        onNavigateToDestination = navigate,
                    )
                }
            }
        }
    }
}
Please check the app directory for detailed implementation instructions.
Setup
This chapter will show you how to add libraries to your project.
Step 1. Add the JitPack repository to your build file
Add it in your root build.gradle at the end of repositories:
allprojects {
    repositories {
        maven { url 'https://jitpack.io' }
    }
}
If the above configuration fails, add the following setting to settings.gradle.
dependencyResolutionManagement {
    repositories {
        maven { url 'https://jitpack.io' }
    }
}
Step 2. Add the dependency
dependencies {
    implementation 'com.github.takagimeow:adaptive-layout:0.3'
}