Macro Keys
Macro Keys is an android application designed to provide seamless wireless control of a PC over a local area network. To use the application, simply run the accompanying Java program on the target PC, and obtain the IP address and Port for establishing a connection. Once this is done, you can easily set up an unlimited number of buttons on the application to perform various tasks on the PC.
One of the major benefits of Macro Keys is the ability to send keyboard text inputs, a handy feature for those who frequently require repeated text inputs on their PC. This not only saves valuable time but also provides the user with an external control device that is both convenient and efficient. The application is versatile and can be used for controlling presentations and video playback, among other things.
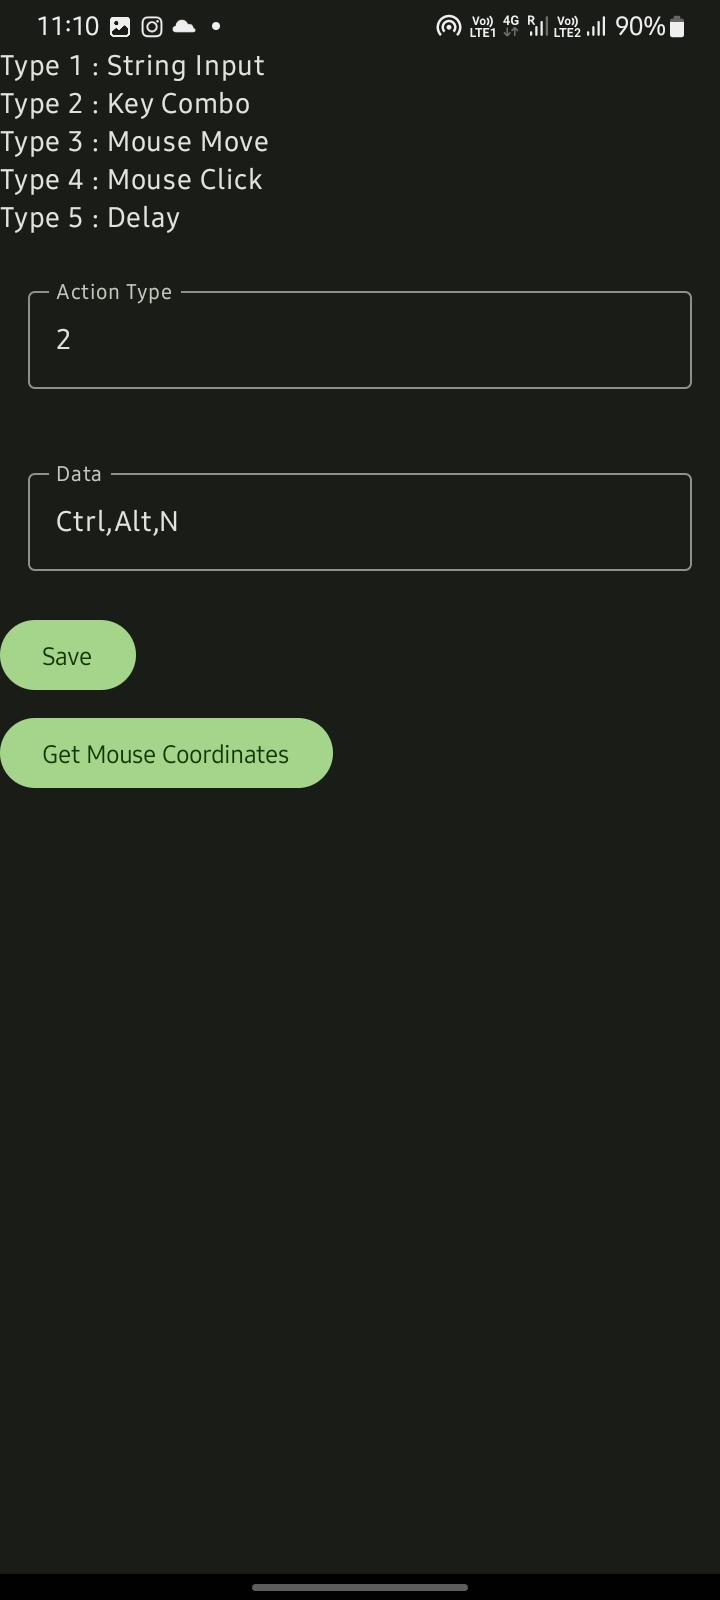
In addition to basic text input, Macro Keys also allows you to configure it to send combinations of keys. This feature is particularly useful for those who work with numerous keyboard shortcuts and would like to execute complex tasks with a single button press. For example, you could configure the application to open a new Run Command, enter a string command, and execute it all in one go.
Another exciting feature of Macro Keys is the ability to control mouse input from the application. You can effortlessly move the mouse to any given coordinates on the screen, press a mouse button, and even enter text.
Overall, Macro Keys is a powerful tool that can enhance your productivity and streamline your workflow. It is ideal for anyone who desires an external control device that is both efficient and easy to use.

Steps to use
- Setup the java project found in reciever folder, and run the Server.java class in the java compiler.
- If you encounter org.json package not found error, then you would have to setup the maven project inside some compatible IDE like intellij and download all the required repositories by doing a maven sync.
- Setup the android application by building the project in Android Studio, and run the application on a real device (not on emulator).
- On running the server class in step 2, you would be provided with an IP Address of the device and Port info, which is default to 9155
- On your android device, open the settings section of the app by pressing the gear icon at the top right of the application, and enter the ip address and port of the pc.
- Now you could configure any button on the app.
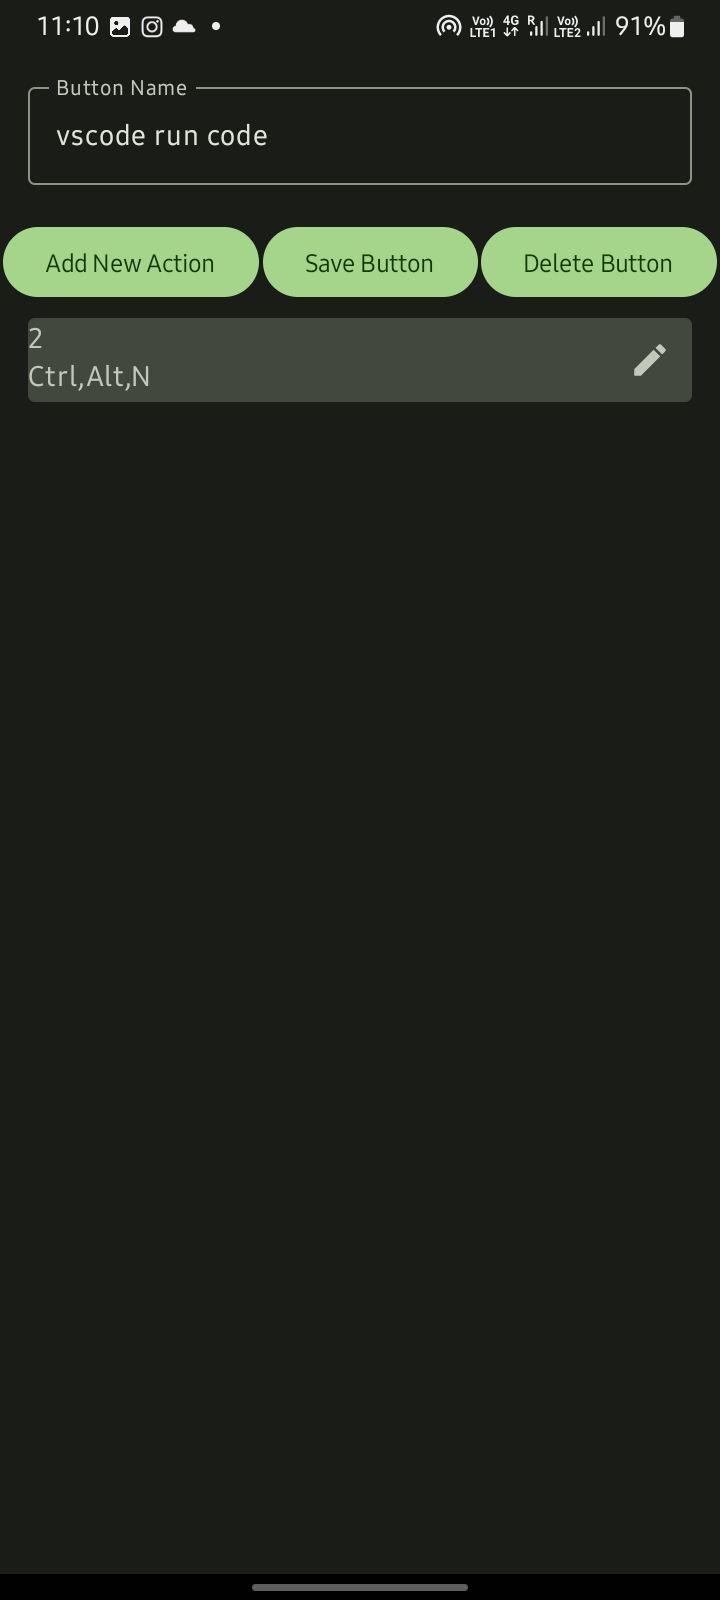
- First create a new button by clicking the new icon on the screen. Give your button a name, click create button, and now you could add actions to that button. Click the add action button, and a new screen to setup your action will be opened.
- Give a action type from 1-5.
- Give a action data, which can be a string for type 1, comma seperated list of keys for type 2, comma seperated mouse coordinates of form “x,y” for type 3, left right or middle for type 4, time in milli-seconds for type 5.
- Save the action.
- You can configure multiple actions for a single button. All those actions will be performed in the series from top to bottom.
- Save the button.
- You will be able to click your button from the home screen. On clicking the button, all those actions will be performed.
- To edit a button, long press the button.
- To setup folders within the app, create a new button, and don’t give it any action to perform, just create button, give it a name, and save it.
- Now a new folder will be made, which can be accessed from the screen it was created.