Activity Lifecycle – DessertPusher
This is the toy app for lesson 4 of the Android App Development in Kotlin course on Udacity.
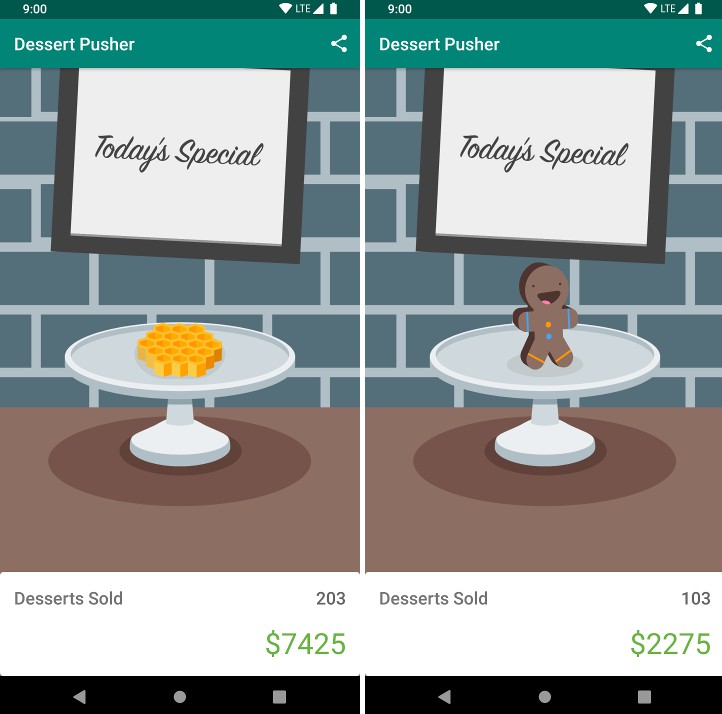
DessertPusher
DessertPusher is a game about making desserts. Press the button, make a dessert, earn the big bucks.
This app is for exploring the Activity Lifecycle callback methods and the Lifecycle object.
Screenshots


How to use this repo while taking the course
Each code repository in this class has a chain of commits that looks like this:
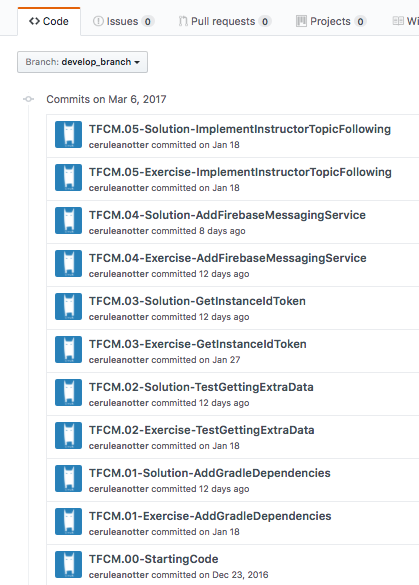
These commits show every step you’ll take to create the app. Each commit contains instructions for completing the that step.
Each commit also has a branch associated with it of the same name as the commit message, seen below:
Access all branches from this tab

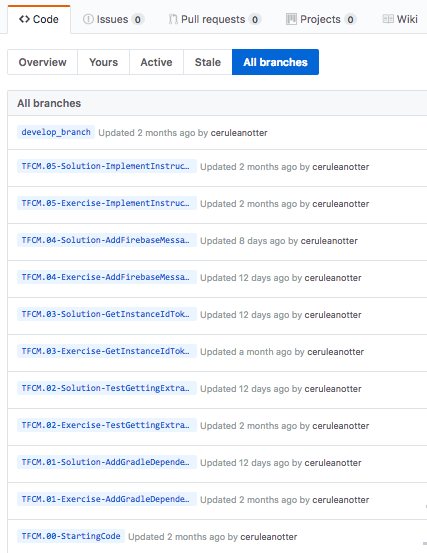

The branches are also accessible from the drop-down in the “Code” tab
Working with the Course Code
Here are the basic steps for working with and completing exercises in the repo.
The basic steps are:
- Clone the repo
- Checkout the branch corresponding to the step you want to attempt
- Find and complete the TODOs
- Optionally commit your code changes
- Compare your code with the solution
- Repeat steps 2-5 until you’ve gone trough all the steps to complete the toy app
Step 1: Clone the repo
As you go through the course, you’ll be instructed to clone the different exercise repositories, so you don’t need to set these up now. You can clone a repository from github in a folder of your choice with the command:
git clone https://github.com/udacity/REPOSITORY_NAME.git
Step 2: Checkout the step branch
As you go through different steps in the code, you’ll be told which step you’re on, as well as a link to the corresponding branch.
You’ll want to check out the branch associated with that step. The command to check out a branch would be:
git checkout BRANCH_NAME
Step 3: Find and complete the TODOs
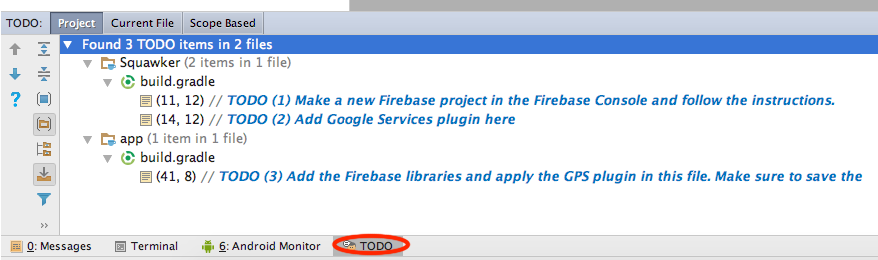
Once you’ve checked out the branch, you’ll have the code in the exact state you need. You’ll even have TODOs, which are special comments that tell you all the steps you need to complete the exercise. You can easily navigate to all the TODOs using Android Studio’s TODO tool. To open the TODO tool, click the button at the bottom of the screen that says TODO. This will display a list of all comments with TODO in the project.
We’ve numbered the TODO steps so you can do them in order:
Step 4: Commit your code changes
After You’ve completed the TODOs, you can optionally commit your changes. This will allow you to see the code you wrote whenever you return to the branch. The following git code will add and save all your changes.
git add .
git commit -m "Your commit message"
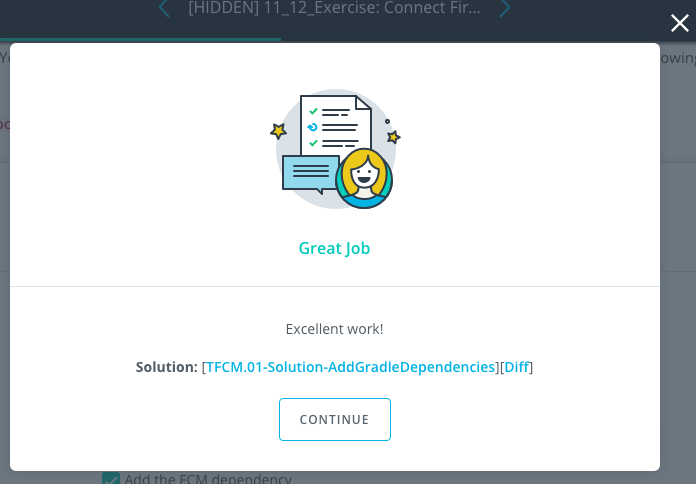
Step 5: Compare with the solution
Most exercises will have a list of steps for you to check off in the classroom. Once you’ve checked these off, you’ll see a pop up window with a link to the solution code. Note the Diff link:
The Diff link will take you to a Github diff as seen below:
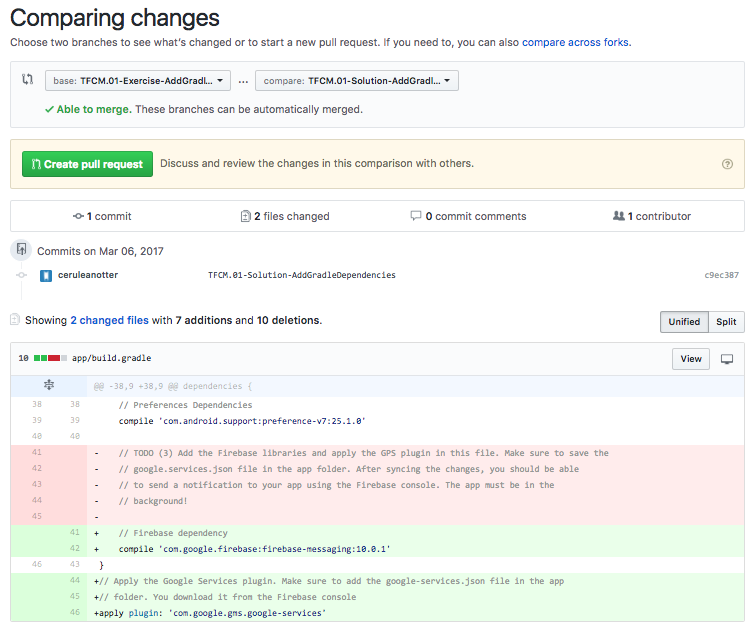
All of the code that was added in the solution is in green, and the removed code (which will usually be the TODO comments) is in red.
You can also compare your code locally with the branch of the following step.
Report Issues
Notice any issues with a repository? Please file a github issue in this repository.