kompass
A boilerplate free router concept for android, written in Kotlin
Support
I am happy to help you with any problem on gitter, as fast as I can!
The goal is to investigate any reported issue within 2 days.
Why you should use Kompass
- Powerful router which works great with MVP, MVVM and almost any other architecture
- Boilerplate free routing: No more bundle.putInt(ARG_SOMETHING, something)
- Very simple and clean architecture for applying custom transitions
- Generic fragment transitions
- Routing with multiple screen (which are called ships)
- Kotlin
Setup
Step 1: Enable Annotation Processing
Add this at the top of your build.gradle
Step2: Add Kompass Dependencies
Usage
Example
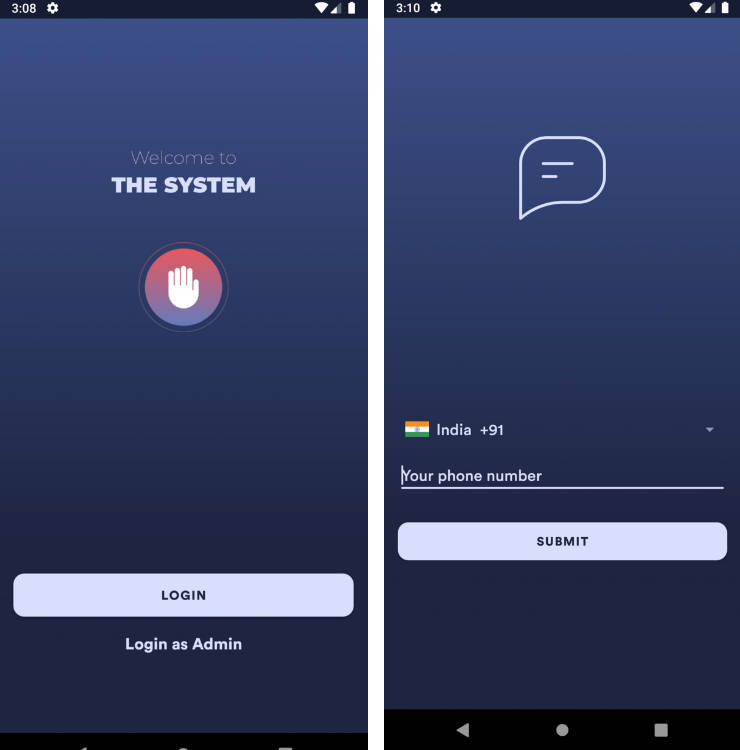
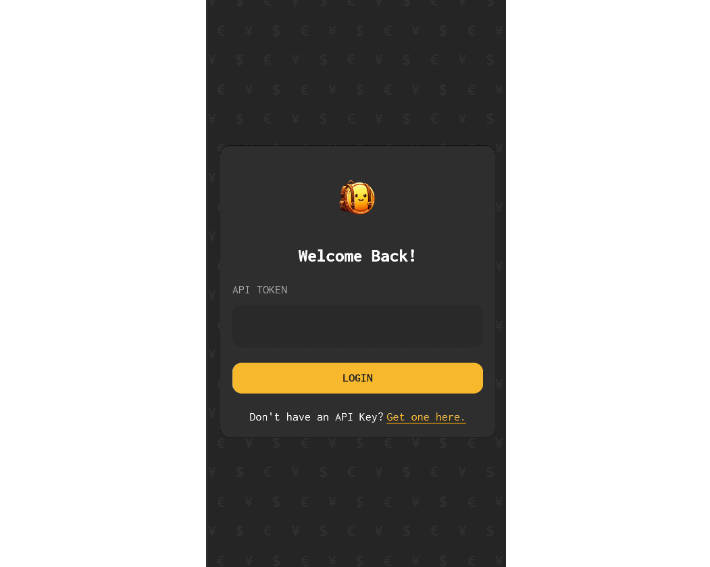
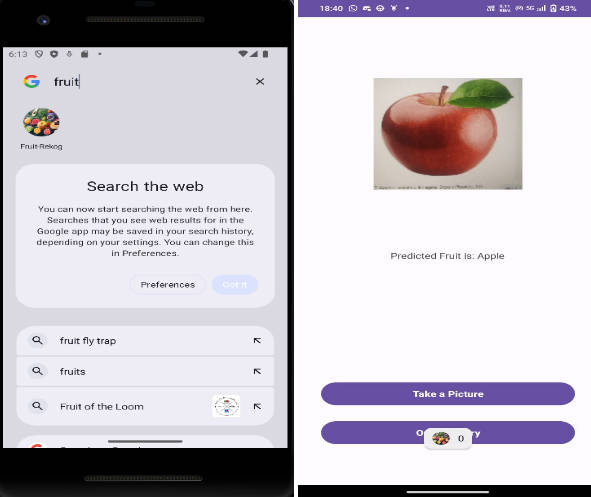
I highly recommend having a look at the example app built with Kompass
Gif

Basic
Kompass makes extensive use of ship-vocabulary for its API's. Here are the main analogies:
- The Kompass is the upper most object and contains ships
- A Ship is the entity which can route to a certain Destination. This might represent a certain area of your
activity where fragments can be loaded. - A Sail is the actual area where fragments can be placed in. Your activity therefore sets the
sails for a certain ship, which then 'sails' to the destination. - A Destination represents one certain 'scene' of your app. It also holds all necessary arguments for
the fragment/activity. For example: You might have a
'LoginDestination', 'HomeDestination', 'SettingsDestination', ... in your application. - A Map knows how to display a certain Destination (meaning which Fragment or Activity to load for it).
A map (AutoMap) is automatically created for you - A Cran knows how to push a Destination object into a Bundle. A Cran (AutoCran) is automatically
created for you - A Detour can implement custom transitions for certain routes.
- A DetourPilot knows about a bunch of Detours and knows when to apply which Detour
Create a Kompass
Creating the Kompass is very simple using the provided builder:
Create a Kompass: Trivial
This example is the most trivial Kompass that can be built. It accepts any object implementing
KompassDestination as Destination. We will talk about the .autoMap() part later.
It is easy, I promise :bowtie:
Create a Kompass: Real World Example
Here is a real-world example of Kompass, where MyCustomDestinationType is just a basic
sealed class and 'autoMap', 'autoCrane' and 'autoPilot' are extension functions automatically
generated by the KompassCompiler. But as you can see: It is very easy to create a Kompass object :blush:
Create your Destinations
Destinations are simple classes or data classes which hold very simple data like
- Int
- String
- List< Int >
- Parcelable
(Everything that can be represented inside android.os.Bundle)
Destinations are typically annotated with
OR implement the KompassDestination Interface (if you do not want to use the Kompass-Compiler)
I consider it a good idea implemented a sealed superclass for groups of Destinations and restrict
the Kompass object to this superclass.
Example: Annotated Destination
Example: Implemented KompassDestination
Set sails to a Ship
Once your activity has started, you have to provide a sail for the ship which should route to certain
destinations. You can do this whenever you want to (even after you routed your ship to a certain
destination). The following example will show how the FrameLayout with id 'R.id.lisa_container' will
be used for the ship called Lisa as Sail:
Route to a Destination
Now it is time to route to a certain destination. The following example will show how the routing
for a login-screen could look like:
Recreate Destination from Bundle
One of the strongest parts of Kompass is the elimination of hassle with bundles and arguments.
You can easily recreate the original Destination from an intent or bundle using the automatically
generated extension functions.
Example: Fragment
If you routed to a certain fragment you can easily recreate the destination from the arguments Bundle
Example: Activity
Advanced
The Map
Maps contain informations about how to display a certain Destination. This can be done by
starting a new Activity or creating a new Fragment. If you want to use a custom Map element, add it to the KompassBuilder
The Cran
A cran knows how to pack a Destination object into a bundle. If you want to use a custom Cran,
add it to the KompassBuilder
The Detour / The DetourPilot
It is a very common thing to apply transitions when one fragment is replaced by another fragment.
A Detour can very easily implement such a transition genericly.
Consider we want every fragment to slide in, when entered and slide out, when exited. We just
have to write a Detour class like this:
Every Detour will automatically be applied if the types of 'destination', 'currentFragment' and 'nextFragment'
can be assigned from the current route and
is used!
AutoMap, AutoCran, AutoPilot
The functions
are automatically generated if possible.
- .autoMap() will be available after you specified one target for at least one @Destination
- .autoCran() will be available after you annotated at least one class with @Destination
- .autoPilot() will be available after you annotated at least one class with @Detour
BackStack
Kompass comes with an own back-stack. You should override your Activities 'onBackPressed' like: