WinterLayout
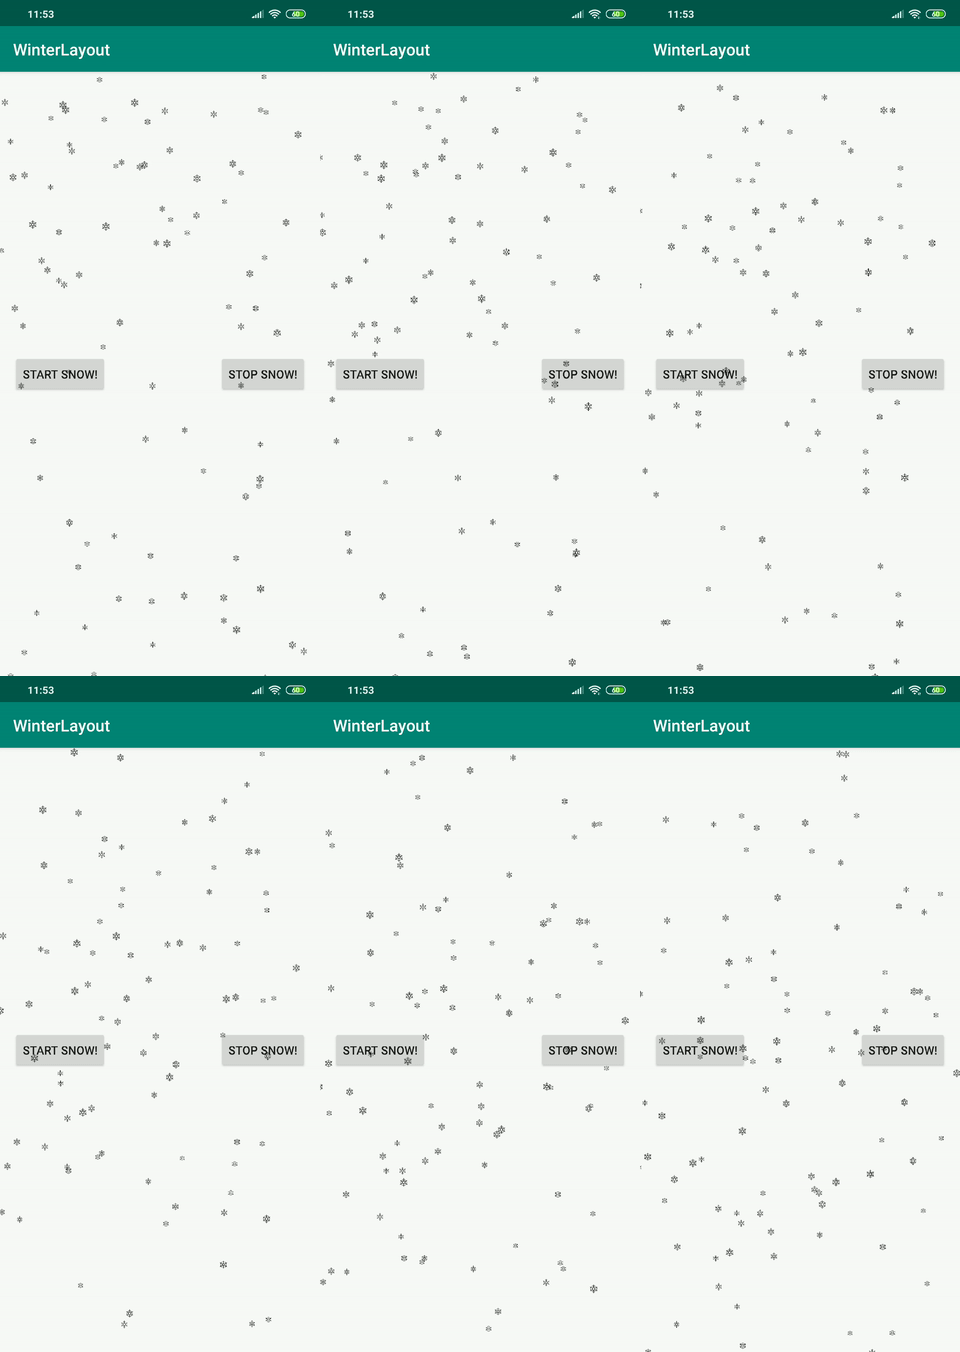
WinterLayout with the help of y = a*sin(x) function.
Usage
Add jitpack in your root build.gradle at the end of repositories:
allprojects {
		repositories {
			...
			maven { url 'https://jitpack.io' }
		}
	}
Add the dependency
dependencies {
	        implementation 'com.github.Jamshid-M:WinterLayout:1.0'
	}
Include WinterLayout in your xml
<uz.jamshid.lib.WinterLayout
    xmlns:android="http://schemas.android.com/apk/res/android"
    xmlns:tools="http://schemas.android.com/tools"
    xmlns:app="http://schemas.android.com/apk/res-auto"
    android:id="@+id/winter"
    android:layout_width="match_parent"
    android:layout_height="match_parent"
    app:snowCount="100"
    app:snowImage="@drawable/ic_snowflake"
    app:minSize="20"
    app:maxSize="30"
    tools:context=".MainActivity">

    /** other view components **/
  </uz.jamshid.lib.WinterLayout>
Custom Field description
Because of library uses random values for size, amplitude and speed, user have to give range for every field
snowCountnumber of snowflakes on layoutminAmplitudeminimum range value for amplitudemaxAmplitudemaximum range value for amplitudeminSpeedminimum speed rangemaxSpeedmaximum speed rangeminSizeminimum size rangemaxSizemaximum size rangesnowImagereference to drawable, for customizing snowflake image
Starting and Stopping Winter
Give id for your WinterLayout and with the help of id find and use his startWinter and stopWinter methods
winter.startWinter()
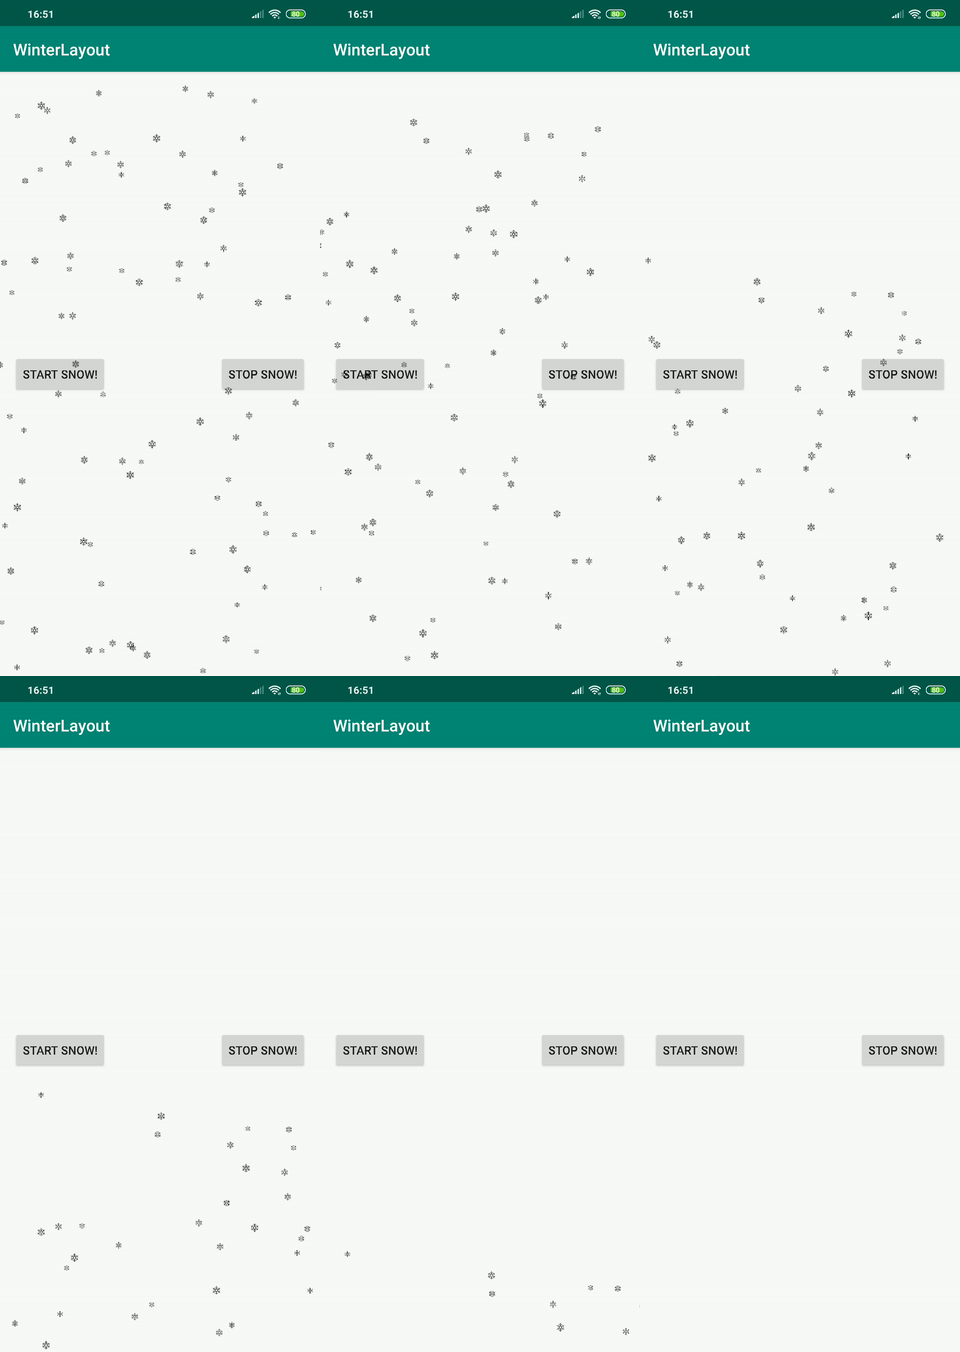
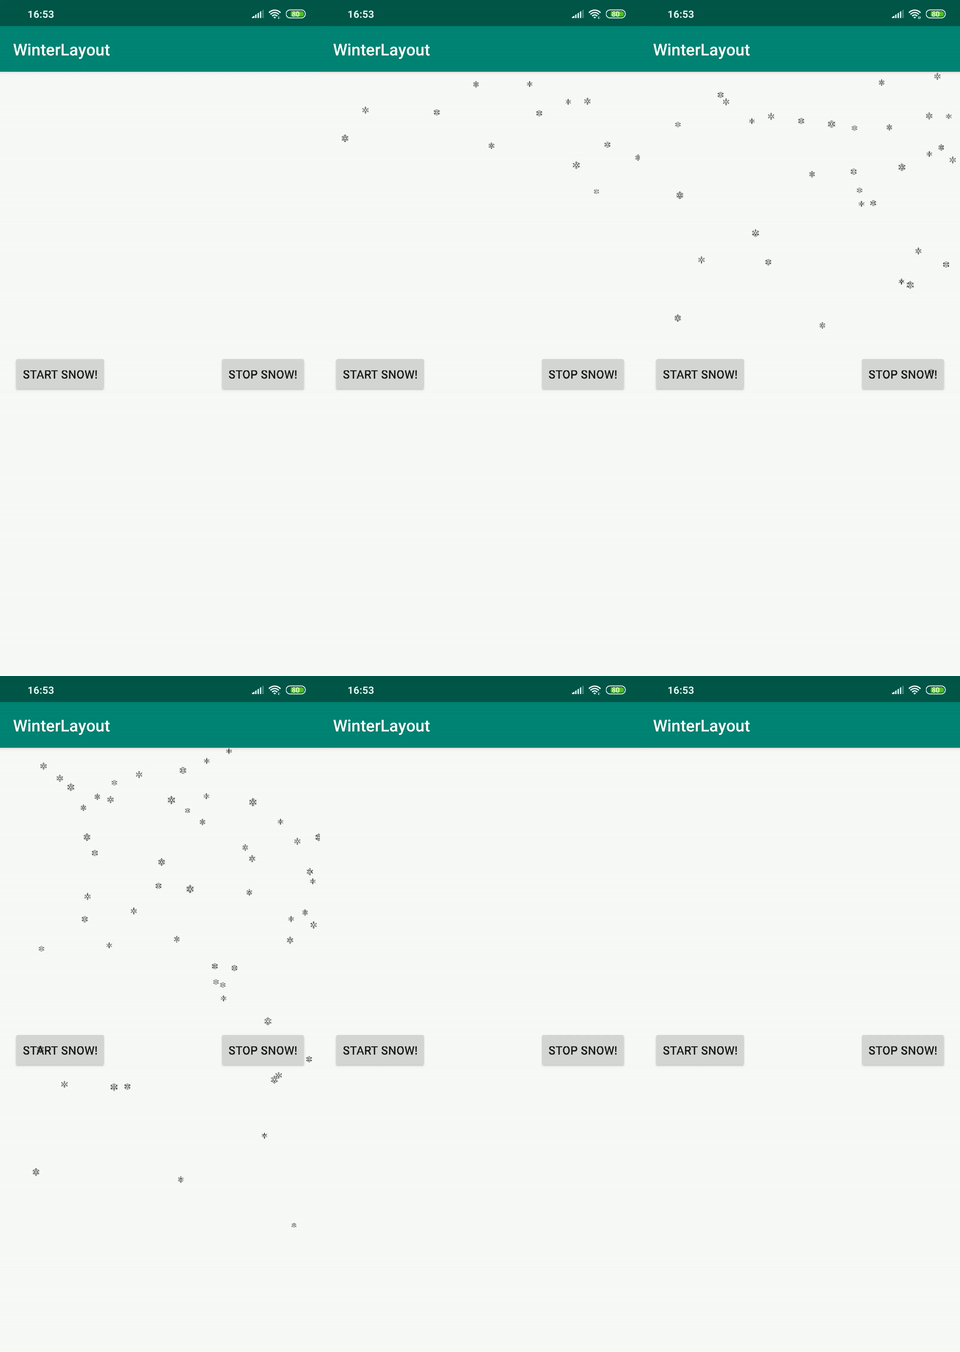
There are two kind of stops
- Natural Stop
- Stop Immediately
winter.stopWinter() //stop naturally
winter.stopImmediately() //stop immediately
Also initialize layout from code and call setSnowSize method
winter.setSnowSize(20)
This method accepts
- Snow Count
- bitmap (optional)
- minAmplitude (optional)
- maxAmplitude (optional)
- minSpeed (optional)
- maxSpeed (optional)
- minSize (optional)
- maxSize (optional)

