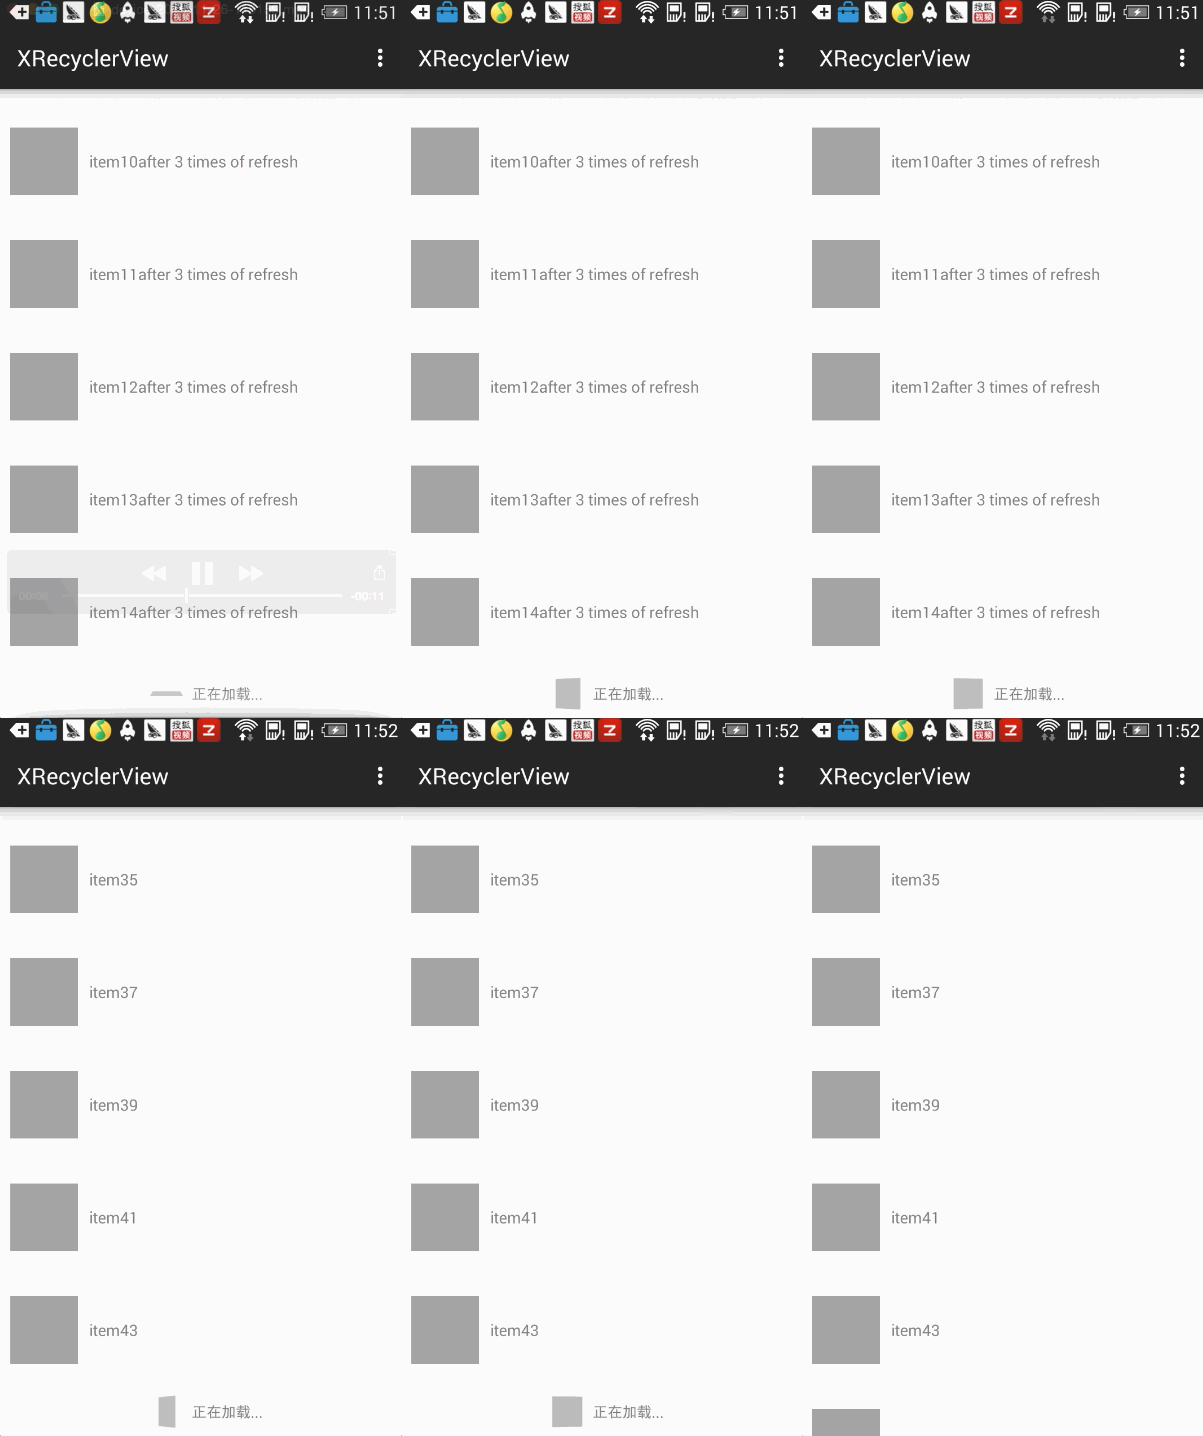
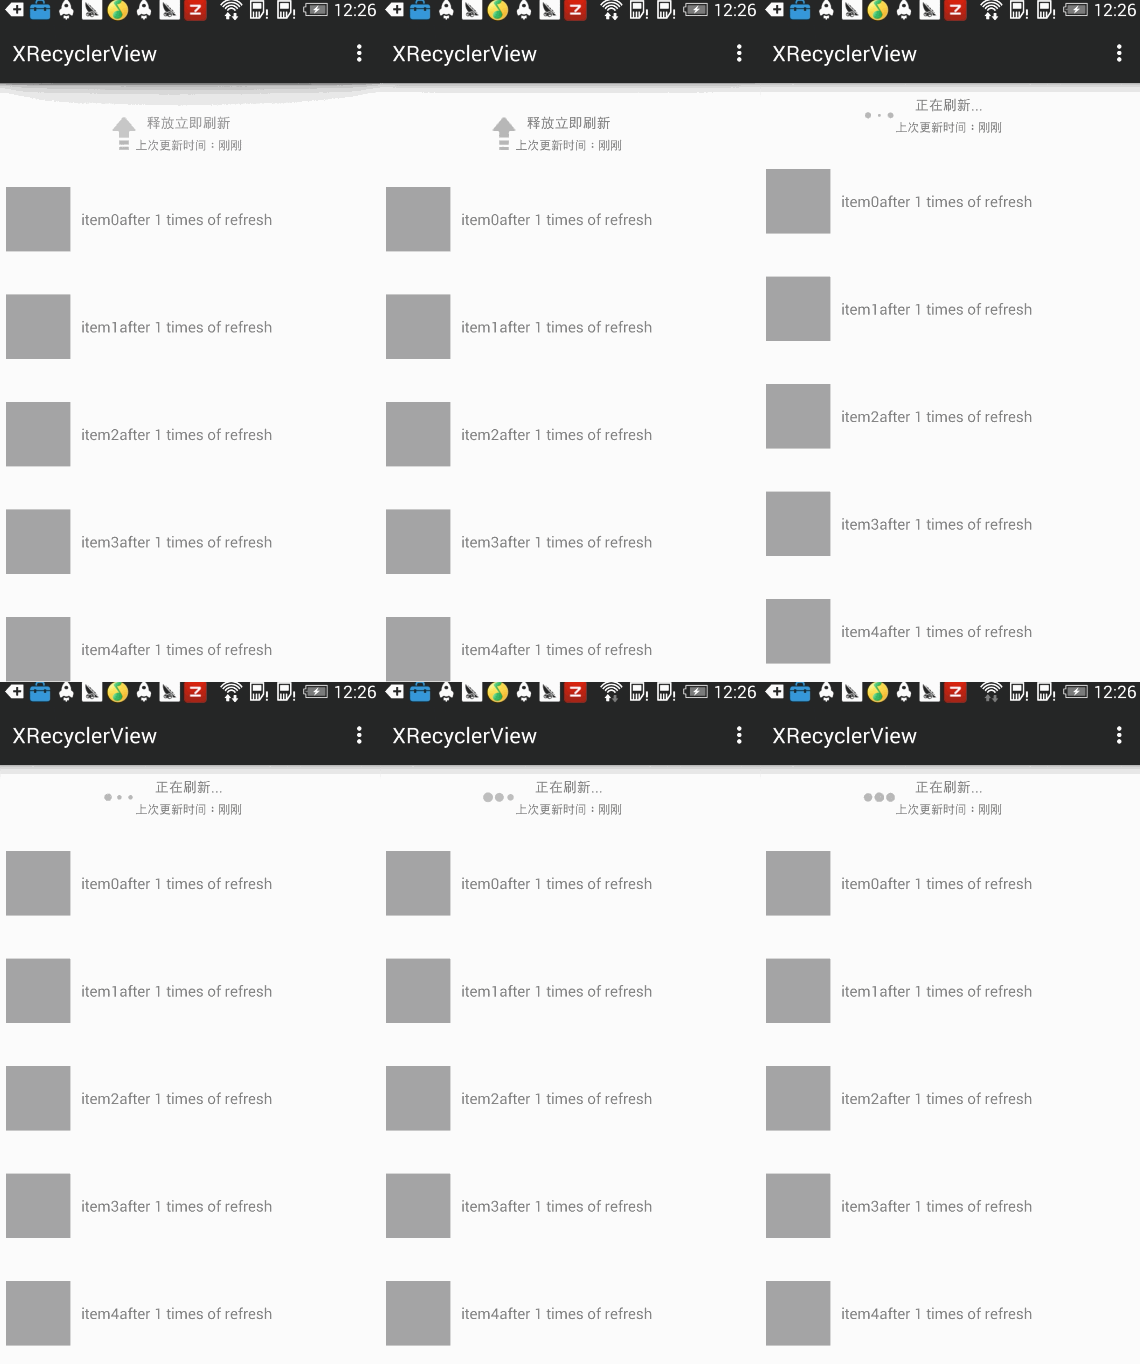
XRecyclerView
a RecyclerView that implements pullrefresh , loadingmore and header featrues.you can use it like a standard RecyclerView.
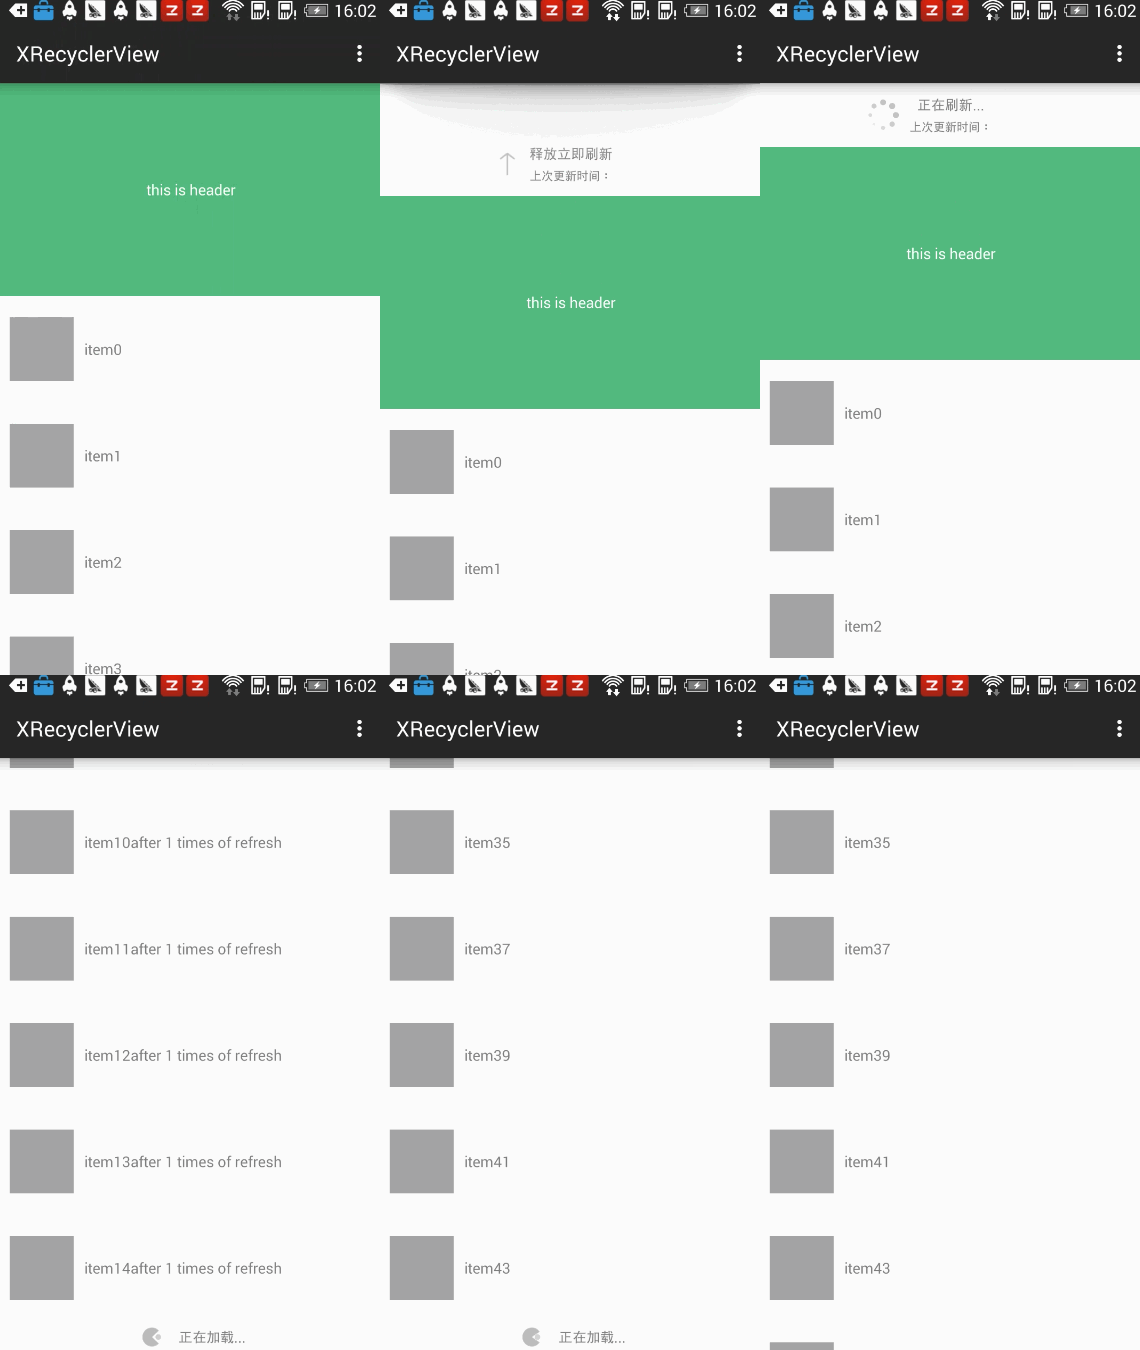
on real device it is much more smoother.
Usage
gradle
// 1.5.9 is the main
compile 'com.jcodecraeer:xrecyclerview:1.5.9'
just like a standard RecyclerView
LinearLayoutManager layoutManager = new LinearLayoutManager(getActivity());
layoutManager.setOrientation(LinearLayoutManager.VERTICAL);
mRecyclerView.setLayoutManager(layoutManager);
mRecyclerView.setAdapter(mAdapter);
pull to refresh and load more
the pull to refresh and load more featrue is enabled by default. we provide a callback to trigger the refresh and LoadMore event.
mRecyclerView.setLoadingListener(new XRecyclerView.LoadingListener() {
@Override
public void onRefresh() {
//refresh data here
}
@Override
public void onLoadMore() {
// load more data here
}
});
new function of 1.5.7 version.
mRecyclerView
.getDefaultRefreshHeaderView() // get default refresh header view
.setRefreshTimeVisible(true); // make refresh time visible,false means hiding
// if you are not sure that you are 100% going to
// have no data load back from server anymore,do not use this
@Deprecated
public void setEmptyView(View emptyView) {
...
}
new function of 1.5.6 version,fixed a memory leak problem,use the code below to release XR's memory
// any time,when you finish your activity or fragment,call this below
if(mRecyclerView != null){
mRecyclerView.destroy(); // this will totally release XR's memory
mRecyclerView = null;
}
new function of 1.5.3 version,you can use XR in the sticky scroll model now,like the code below,the demo activity is 'LinearStickyScrollActivity'
final View topView = findViewById(R.id.topView);
final View tabView = findViewById(R.id.tabView);
final View content = findViewById(R.id.contentView);
final StickyScrollLinearLayout s = findViewById(R.id.StickyScrollLinearLayout);
s.addOnLayoutChangeListener(
new View.OnLayoutChangeListener() {
@Override
public void onLayoutChange(View v, int left, int top, int right, int bottom, int oldLeft, int oldTop, int oldRight, int oldBottom) {
if(s.getContentView() != null)
return;
// 放在这里是为了等初始化结束后再添加,防止 height 获取 =0
// add from here just in case they height==0
s.setInitInterface(
new StickyScrollLinearLayout.StickyScrollInitInterface() {
@Override
public View setTopView() {
return topView;
}
@Override
public View setTabView() {
return tabView;
}
@Override
public View setContentView() {
return content;
}
}
);
}
}
);
call notifyItemRemoved or notifyItemInserted, remember to use the functions inside XRecyclerView
listData.remove(pos);
mRecyclerView.notifyItemRemoved(listData,pos);
and of course you have to tell our RecyclerView when the refreshing or loading more work is done.
you can use
mRecyclerView.loadMoreComplete();
to control when the item number of the screen is list.size-2,we call the onLoadMore
mRecyclerView.setLimitNumberToCallLoadMore(2); // default is 1
to notify that the loading more work is done.
and
mRecyclerView.refreshComplete();
to notify that the refreshing work is done.
here is what we get:
call refresh() manually(I change the previous setRefreshing() method to refresh() )
mRecyclerView.refresh();
custom refresh and loading more style
pull refresh and loading more style is highly customizable.
custom loading style
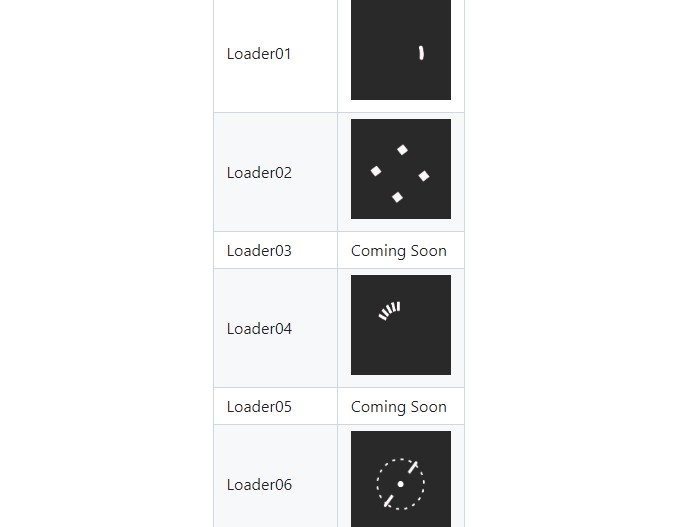
the loading effect we use the AVLoadingIndicatorView . and it is built in(make a little change).
we provide all the effect in AVLoadingIndicatorView library besides we add a system style.
you can call
mRecyclerView.setRefreshProgressStyle(int style);
and
mRecyclerView.setLaodingMoreProgressStyle(int style);
to set the RefreshProgressStyle and LaodingMoreProgressStyle respectively.
for example
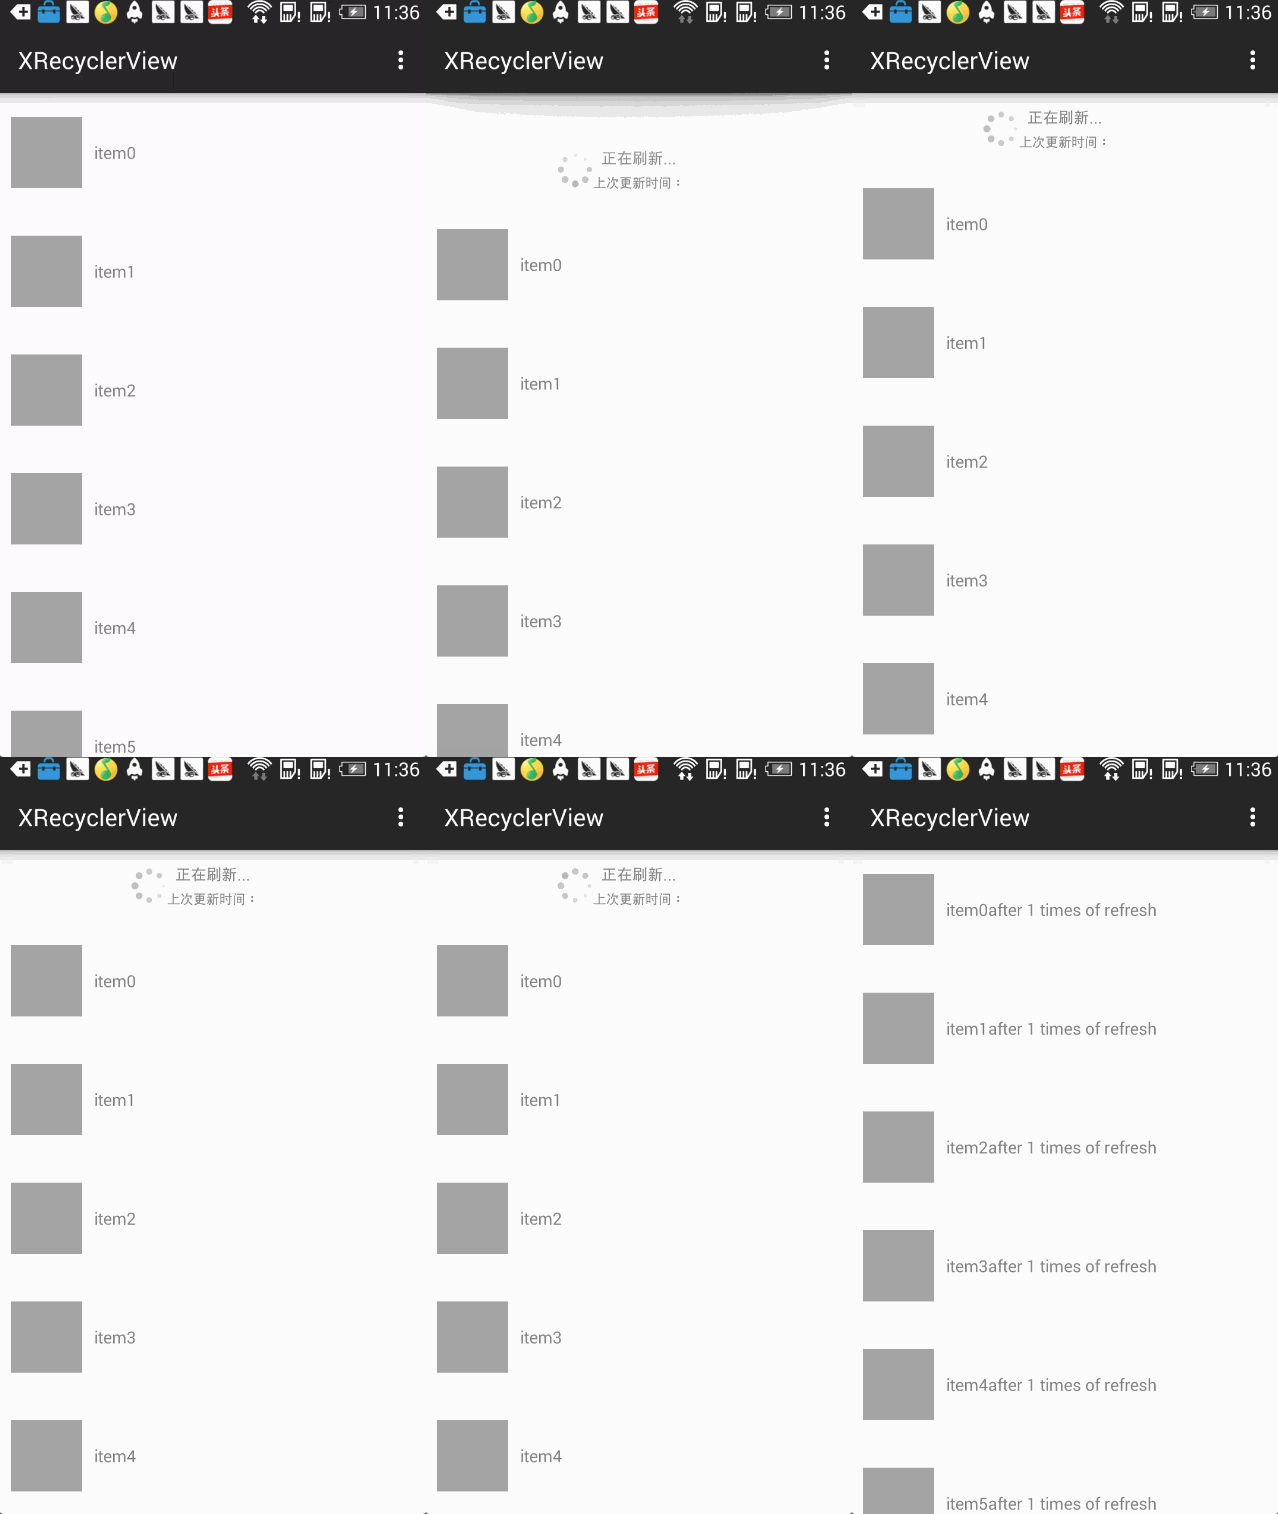
mRecyclerView.setRefreshProgressStyle(ProgressStyle.BallSpinFadeLoader);
mRecyclerView.setLaodingMoreProgressStyle(ProgressStyle.SquareSpin);
BallPulse effect
all the effect can be get in the ProgressStyle class
public class ProgressStyle {
public static final int SysProgress=-1;
public static final int BallPulse=0;
public static final int BallGridPulse=1;
public static final int BallClipRotate=2;
public static final int BallClipRotatePulse=3;
public static final int SquareSpin=4;
public static final int BallClipRotateMultiple=5;
public static final int BallPulseRise=6;
public static final int BallRotate=7;
public static final int CubeTransition=8;
public static final int BallZigZag=9;
public static final int BallZigZagDeflect=10;
public static final int BallTrianglePath=11;
public static final int BallScale=12;
public static final int LineScale=13;
public static final int LineScaleParty=14;
public static final int BallScaleMultiple=15;
public static final int BallPulseSync=16;
public static final int BallBeat=17;
public static final int LineScalePulseOut=18;
public static final int LineScalePulseOutRapid=19;
public static final int BallScaleRipple=20;
public static final int BallScaleRippleMultiple=21;
public static final int BallSpinFadeLoader=22;
public static final int LineSpinFadeLoader=23;
public static final int TriangleSkewSpin=24;
public static final int Pacman=25;
public static final int BallGridBeat=26;
public static final int SemiCircleSpin=27;
}
refresh arrow icon
we provide a default arrow icon:
but if you don't like it,you can replace it with any other icon you want.
just call
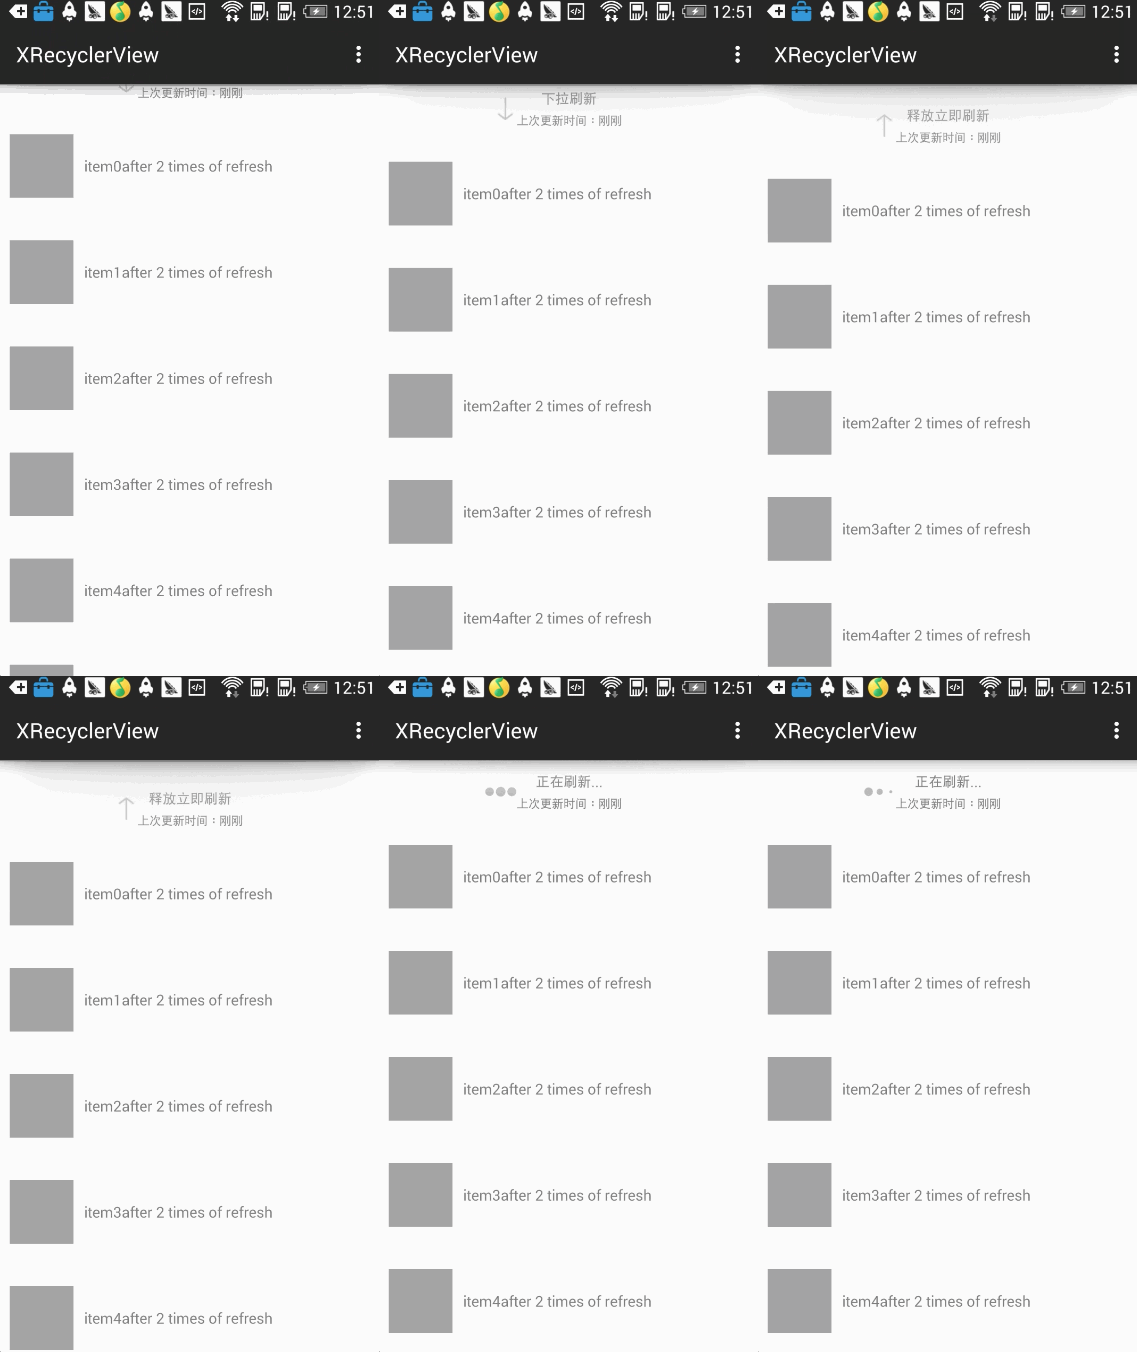
mRecyclerView.setArrowImageView(R.drawable.iconfont_downgrey);
disable refresh and load more featrue
if you don't want the refresh and load more featrue(in that case,you probably dont'n need the lib neither),you can call
mRecyclerView.setPullRefreshEnabled(false);
and
mRecyclerView.setPullRefreshEnabled(true);
in which false means disabled ,true means enabled.
Header
you can add header to XRecyclerView,just call addHeaderView().
View header = LayoutInflater.from(this).inflate(R.layout.recyclerview_header, (ViewGroup)findViewById(android.R.id.content),false);
mRecyclerView.addHeaderView(header);
if you like ,you can add two header
View header = LayoutInflater.from(this).inflate(R.layout.recyclerview_header, (ViewGroup)findViewById(android.R.id.content),false);
View header1 = LayoutInflater.from(this).inflate(R.layout.recyclerview_header1, (ViewGroup)findViewById(android.R.id.content),false);
mRecyclerView.addHeaderView(header);
mRecyclerView.addHeaderView(header1);