DEPRECATED
Don't use this. The Maps v3 SDK handles markers. That with a few other cool utilities make this library obsolete!
Features
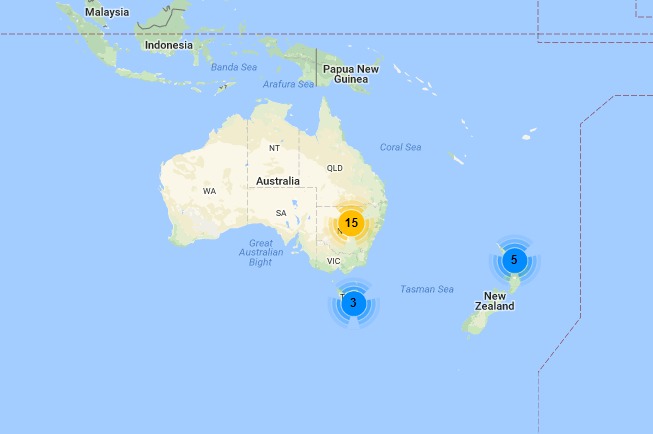
- Clustering based on pixel proximity, not grid membership
- Animated cluster transitions
- Supports Android v2.2 (Froyo) and higher
Setup
Gradle
If you are using Gradle just add the following to your build.gradle file:
Maven
If you are using maven add the following to your pom file:
Eclipse
It's easy to add Clusterkraf to your app. Add the Clusterkraf library folder as an Android project to your Eclipse/ADT workspace, and reference it from your app as a library project. Also, we assume you have a data object that holds latitude and longitude coordinates of each point you want plotted on the map similar to this:
Clusterkraf provides an InputPoint class which holds a LatLng position and an Object tag. You just need to construct an ArrayList<InputPoint> object based on your model objects similar to this example. In this example, we provide the model as the Object tag for the InputPoint so that we can later pass them back to you in callbacks as the ClusterPoint object's pointsInCluster list; see MarkerOptionsChooser, OnInfoWindowClickDownstreamListener, and OnMarkerClickDownstreamListener.
When your GoogleMap is initialized and your ArrayList<InputPoint> is built, you can then initialize Clusterkraf.
You've added a really sweet clustered map to your Android app.
For a more detailed example, take a look at the included sample app's source code.
Sample App
The sample app demonstrates Activity lifecycle, custom marker icons, click handling, and Clusterkraf's options. You can build it from source, or install it from https://play.google.com/store/apps/details?id=com.twotoasters.clusterkraf.sample.
Building the Sample App
- In your local checkout of the Clusterkraf git repo, do
git submodule initandgit submodule update. - Add sample/ as a new Android project from existing source.
- Add sample/libs/ViewPagerIndicator as a new Android project from existing source.
- Authorize com.twotoasters.clusterkraf.sample built with your key of choice to your Google Maps for Android v2 API account.
- Create a new Values file
private_strings.xmlin sample/res/values/ and create a string namedmaps_api_keywith your Google Maps for Android v2 API key.
